
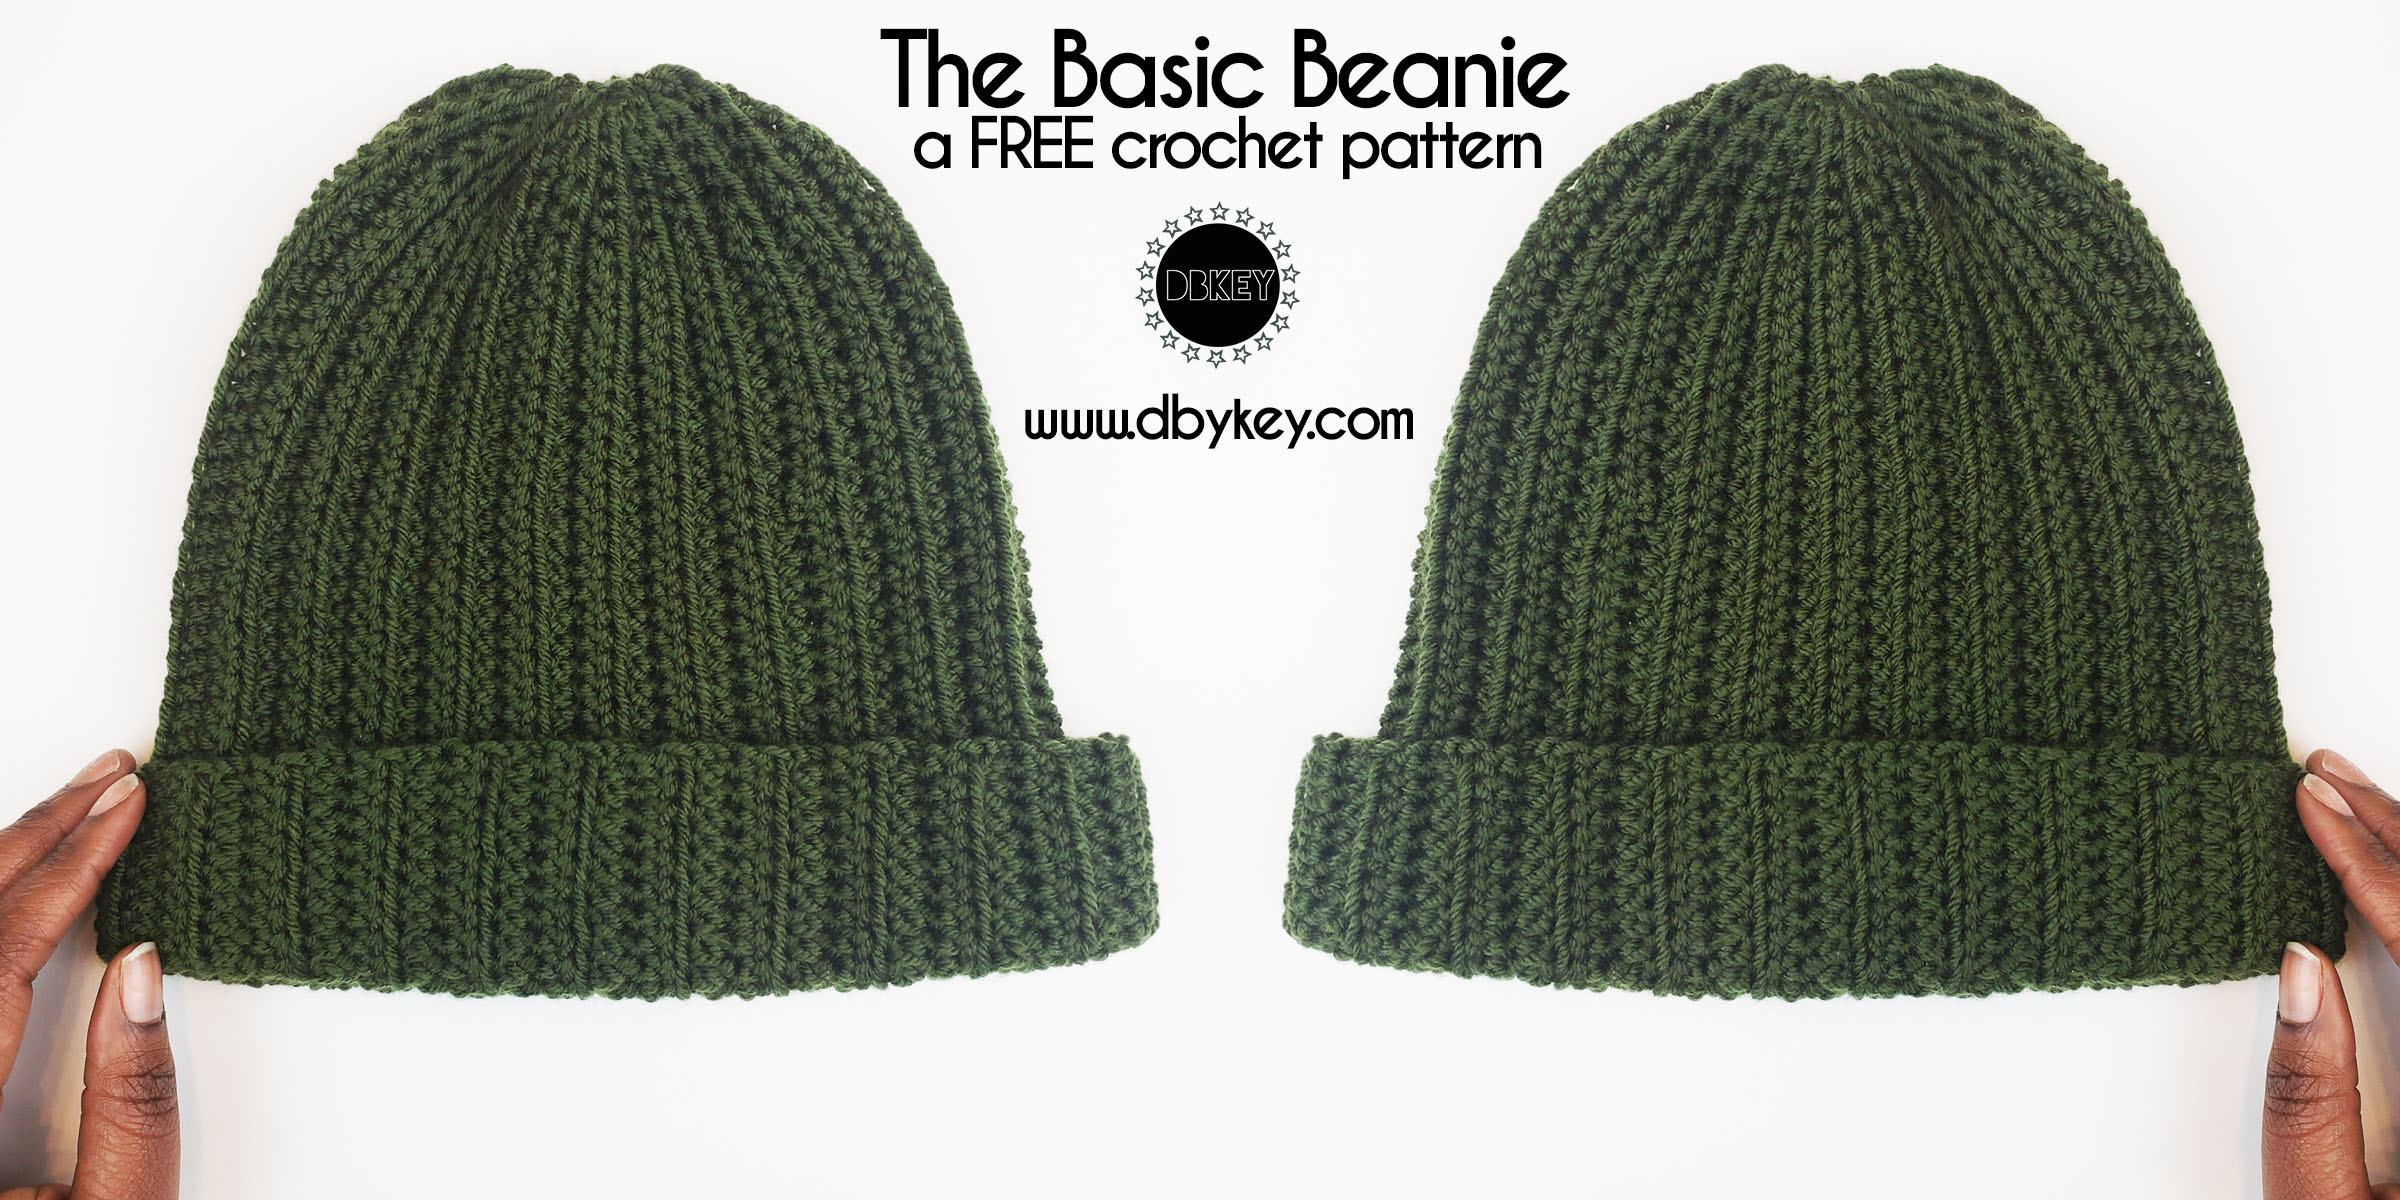
Basic Crochet Beanie
This post may contain affiliate links.
It’s almost fall! — a Basic Crochet Beanie is definitely a staple item for your fall wardrobe. If you’d like to know more about how this crochet beanie came about, keep reading or just scroll down to get right to the free pattern.
Happy September y’all! This year is flying by, and it’ll be fall before we know it! It’s time to stock up on fall items, especially if you plan on doing markets this holiday season. One of my biggest sellers every year are the most basic things, so I thought I’d share how I create my basic crochet beanie year after year.

There are TONS on top of TONS of crochet beanie patterns, but I found it difficult to find a pattern that looked similar to the vision I had in mind AND fit my big ol noggin. I’ve always loved the nearIy perfect round top of a beanie, but when you create a flat rectangle…it’s a little hard to make it round. It either comes out flat looking or bunched together and both of those are no go’s for me. So…after a few hours of Netflix and Frog (because absolutely NOTHING was working out) I finally found a winner…and I haven’t looked back since.

This pattern can be made with nearly any worsted weight yarn and because the pattern goes by measurements instead of rows, it will turn out perfect everytime. I’ve made this beanie with nearly every brand yarn…trust me…it works.
The Pattern
Click here to pin for later!
Click here to fave on Ravelry!
Finished size: 9.5 inches wide x 11 inches tall
Materials
G/4.00 mm crochet hook
1 skein worsted weight yarn
Scissors
Needle for weaving ends
Gauge
4 inch square = 9 rows x 16 Hdc
Finished beanie = 9.75 inches wide x 11 inches tall (unfolded brim)
Abbreviations and Techniques
ch = Chain
blo = Back Loop Only
sc = Single crochet
hdc = Half double crochet
st = Stitch
sts = Stitches
rep = Repeat
- Half Double Crochet Foundation Chain – click here for assistance with this technique
- Single Crochet Foundation Chain – click here for assistance with this technique
Pattern Notes
- For the perfect fit, use a measuring tape to find the circumference of your head. If you are making the beanie for someone else, click here to view the CYC standards for head circumference.
- This beanie is written to fit the average adult woman, and has lots of stretch. But it can be adjusted to fit anyone.
- Pattern is worked in blo.
Measurements
-Head Circumference
To find the correct measurements, take the head circumference and subtract 4.
For example my head is approximately 23 inches around. So for a snug fit, I would make my beanie 19 inches.
-Length
This pattern will create a beanie that is approximately 11 inches in length. It is designed to be slightly slouchy and have a fold over brim.
Start Here…
Row 1: Hdc foundation Ch 40. Sc foundation ch 5. Turn. (45)
Row 2: Ch 1. Sc in next 5 sts. Hdc in the next 40 sts. Turn.
Row 3: Ch 2 (does not count as a st). Hdc in next 40 sts. Sc in next 5 sts. Turn.
Repeat rows 2 and 3 consecutively until you’ve reached the desired head circumference.
Fasten off leaving long tail to sew ends together and closed.

Assembly
Forming the beanie shape


- Fold beanie in half.
- Sewing the two ends of the beanie together using a whip stitch.
- Be sure not to pull the whip stitches too tightly or your beanie won’t lay flat at the seam.
- To close the top of the beanie, keep the beanie inside out and insert the needle under both loops of the 1st stitch. Pull through. Do this for every stitch around your beanie. Once you’ve gone through every stitch, weave the yarn through a few more times and then fasten off!
- Enjoy your new beanie!


