

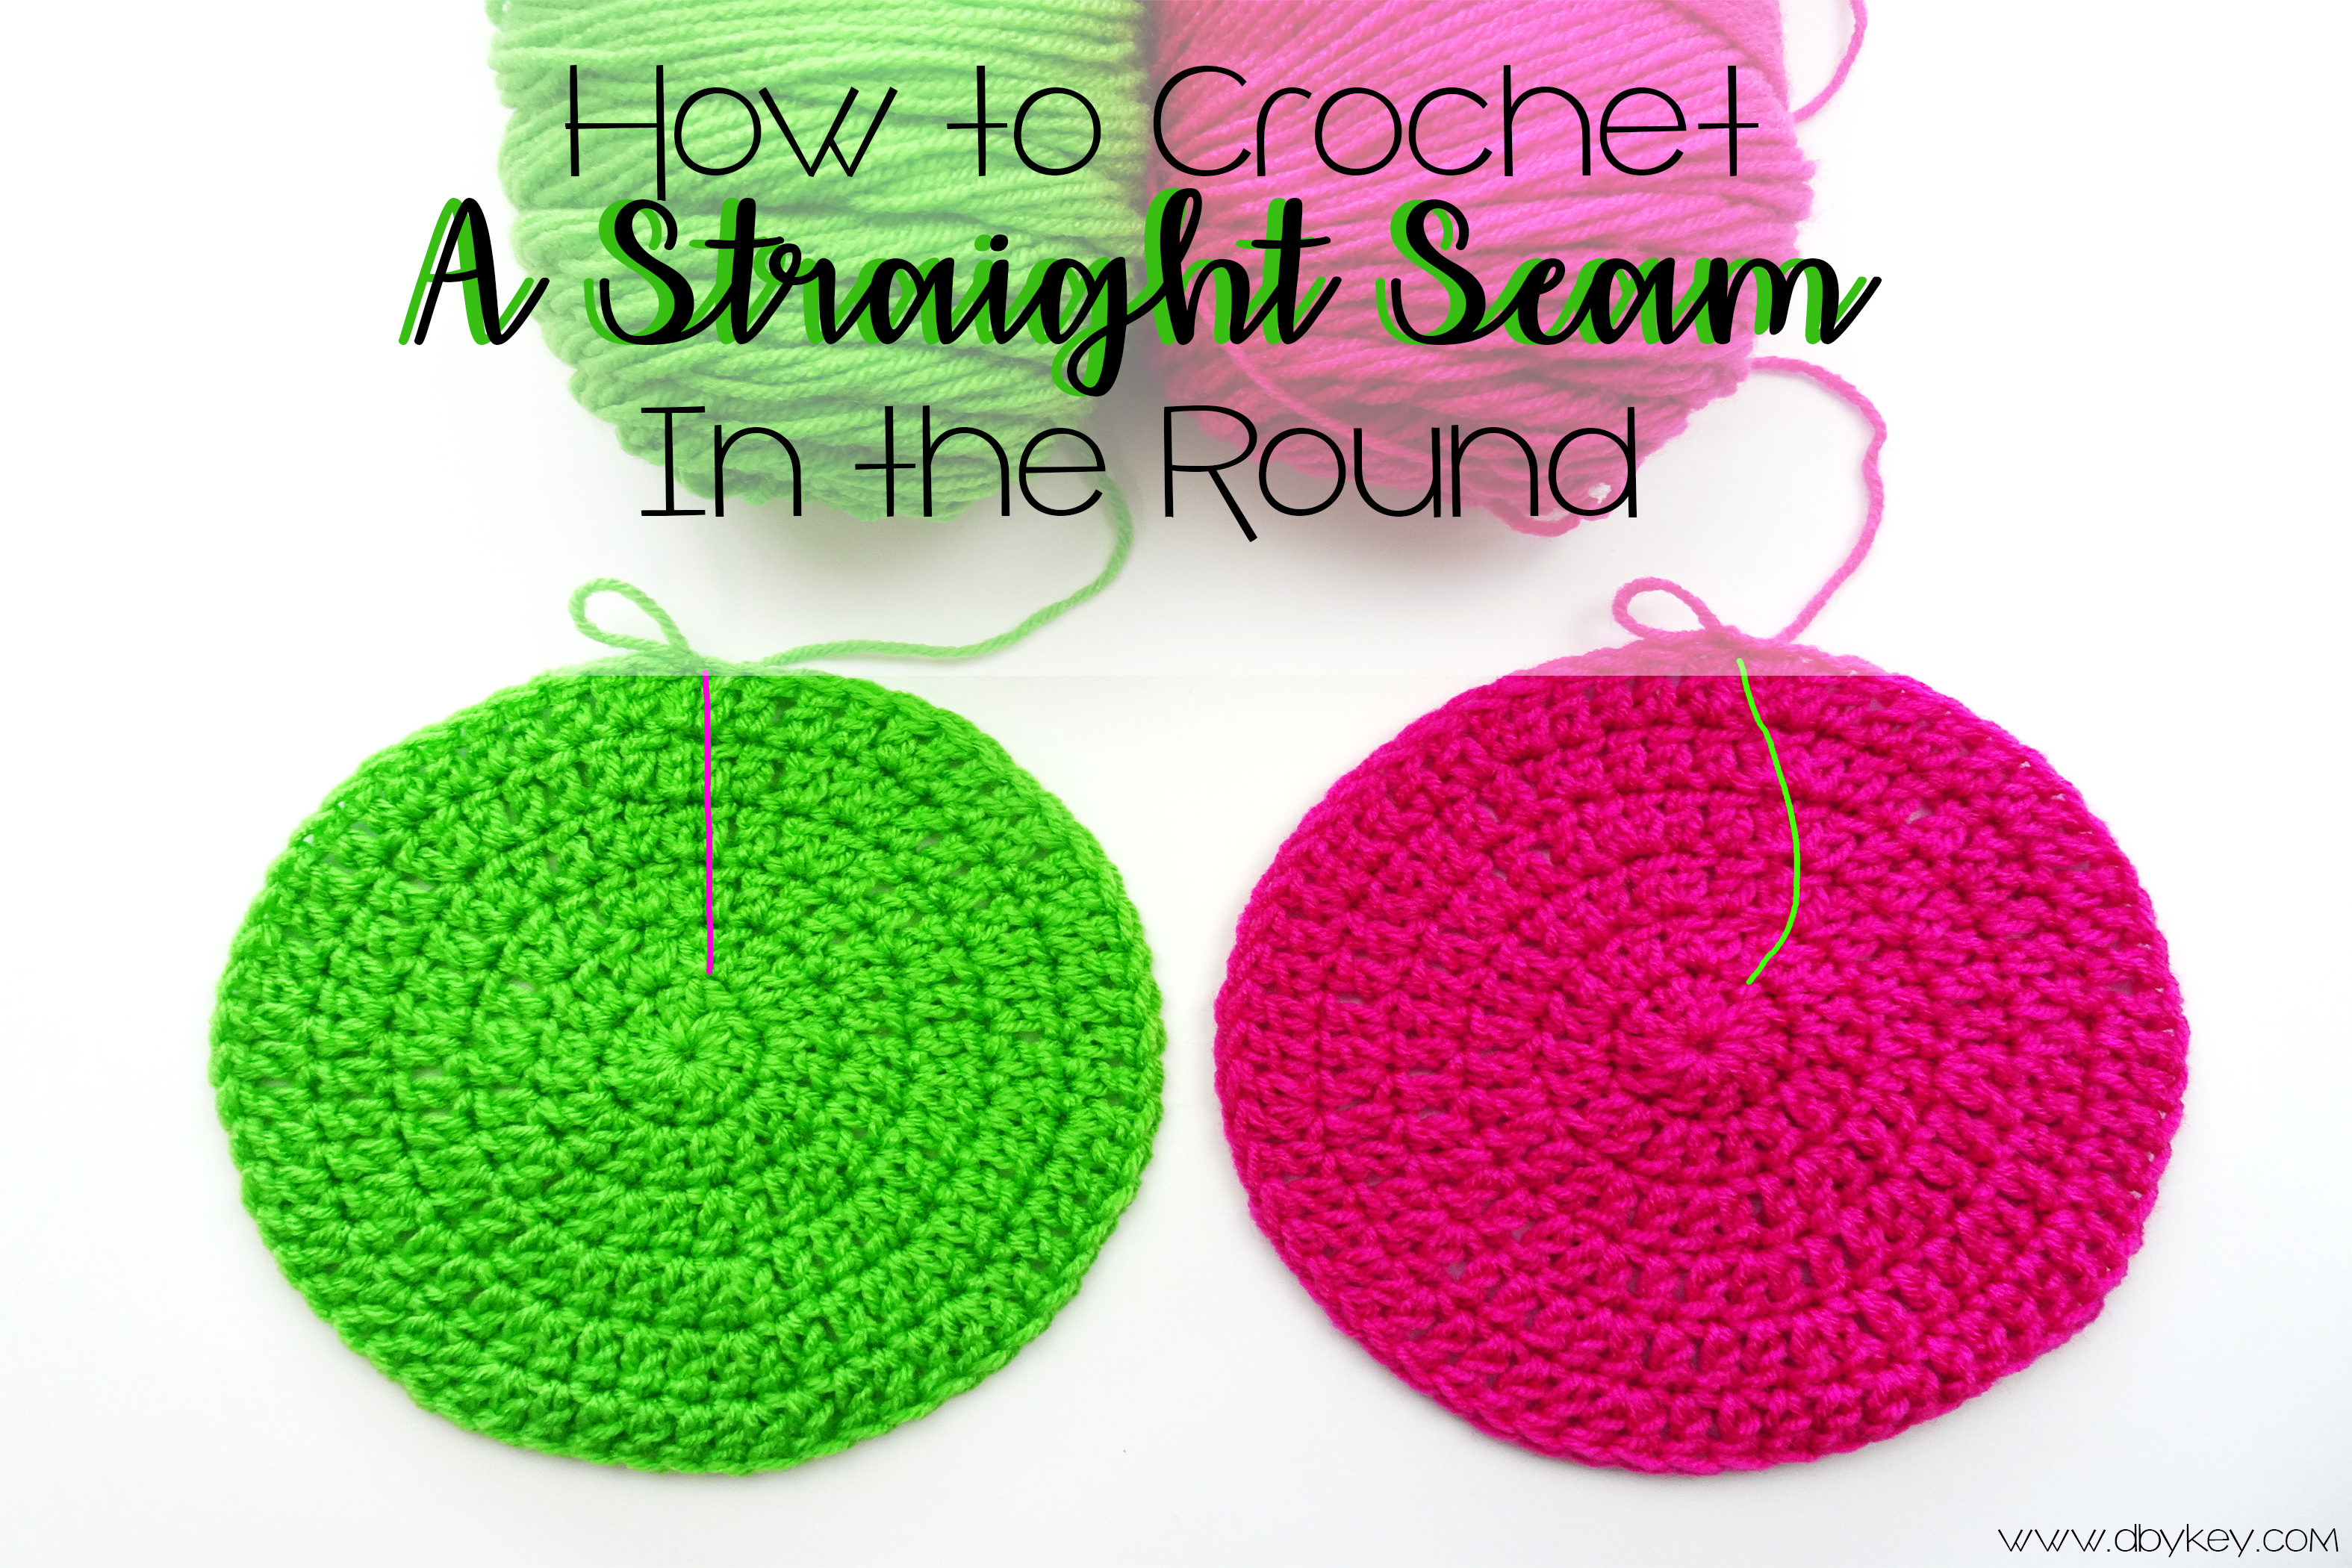
Crochet A Straight Seam in the Round

We’ve all crocheted them, and by them I mean circles. If you’ve ever crocheted a hat, a bag, a coaster, a rug, or just a plain old circle, then you probably know the HORRORS of that ug-a-ly crooked seam! It has always driven me absolutely nuts, but over time I learned to deal with it. Oh, but not anymore.
Ya’ll, when I realized how simple this was, I couldn’t believe I wasn’t doing it sooner.
I could try (and fail) to go into detail about how the stitches are being pushed this a way or that a way, but I’m left handed and I’ll probably just confuse you and then myself. So yeah, I’ll just tell you how to do it.
Normally…
When you read a pattern for a flat circle, it goes as follows:
Magic Circle, Ch 2, 12 DC into ring
- Row 2: Ch 2, 2 DC into every st. (24)
- Row 3: Ch 2, *2 DC into the first st, 1 DC into the next st. (36)
- Row 4: Ch 2, *2 DC into the first st, 1 DC into the next 2 sts. (48)
- Row 5: Ch 2, *2 DC into the first st, 1 DC into the next 3 sts. (60)
This gives you what you don’t want…

Now to get the straight seam…
You would simply crochet your single stitches first followed by the increase as follows:
Magic Circle, Ch 2, 12 DC into ring
- Row 2: Ch 2, 2 DC into every st. (24)
- Row 3: Ch 2, *1 DC into the first st, 2 DC into the next st. (36)
- Row 4: Ch 2, *1 DC into the first 2 sts, 2 DC into the next st. (48)
- Row 5: Ch 2, *1 DC into the first 3 sts, 2 DC into the next st. (60)
Now this one is better…

I want to also mention that I ALWAYS ALWAYS (did I say always?) start my new row in the same stitch as the join!
Now that you know…
What will your first project be now that you know this new technique? No more hiding the back of your projects, yay!!
Be sure to follow me on Instagram @designsbykey.
Happy Hookin!