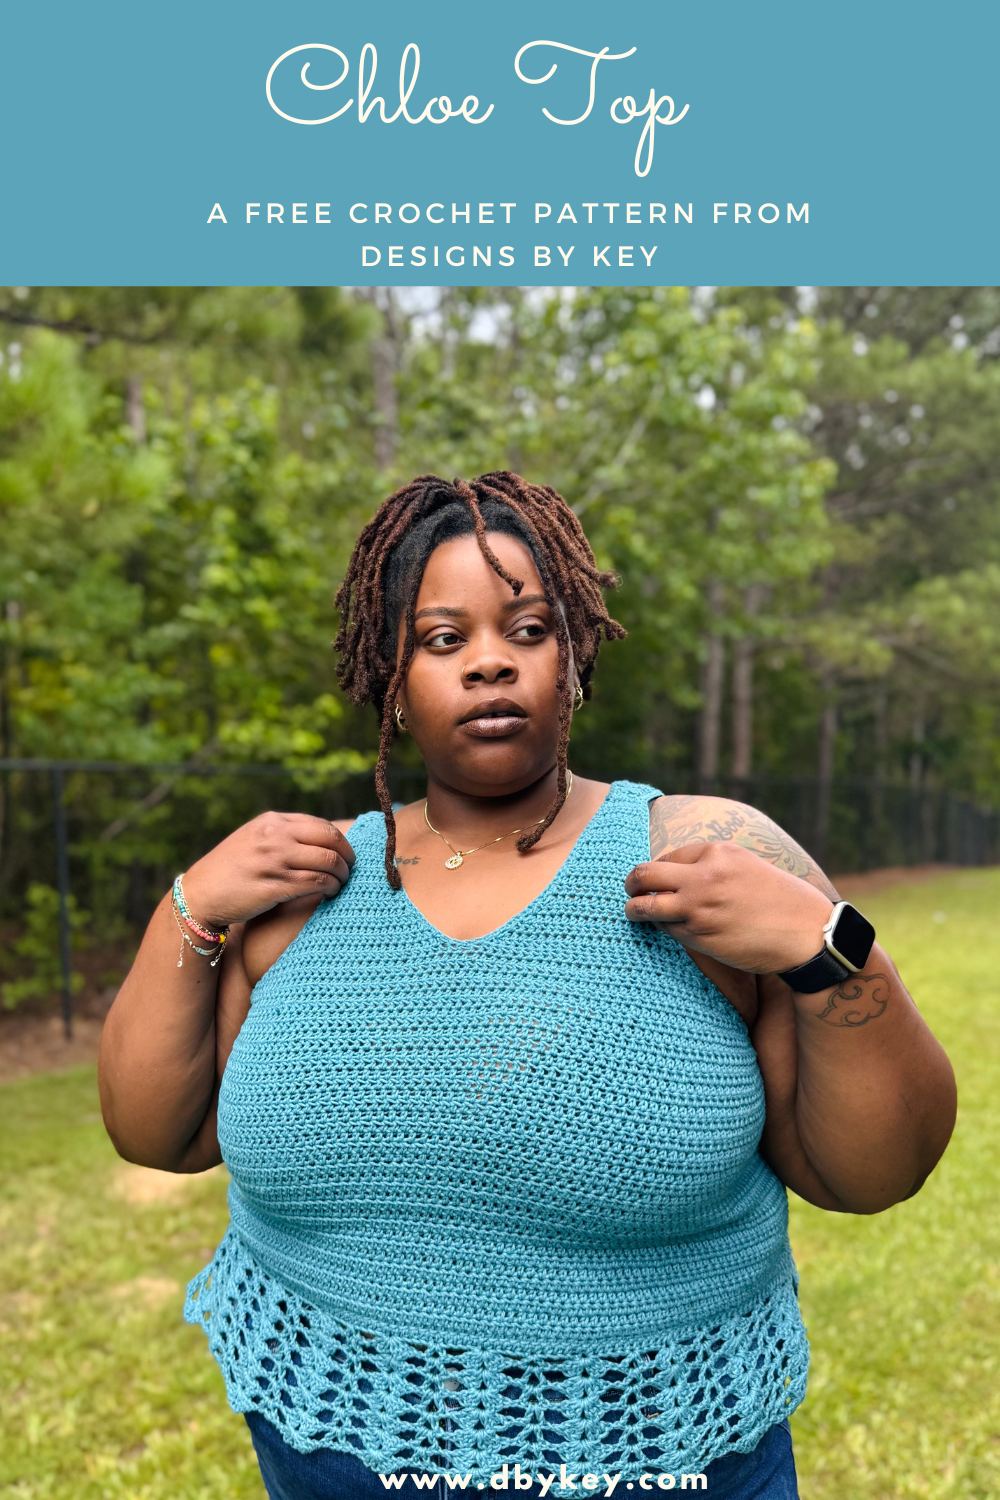
Chloe Top: Free Crochet Tank Pattern, Sizes XS-5XL
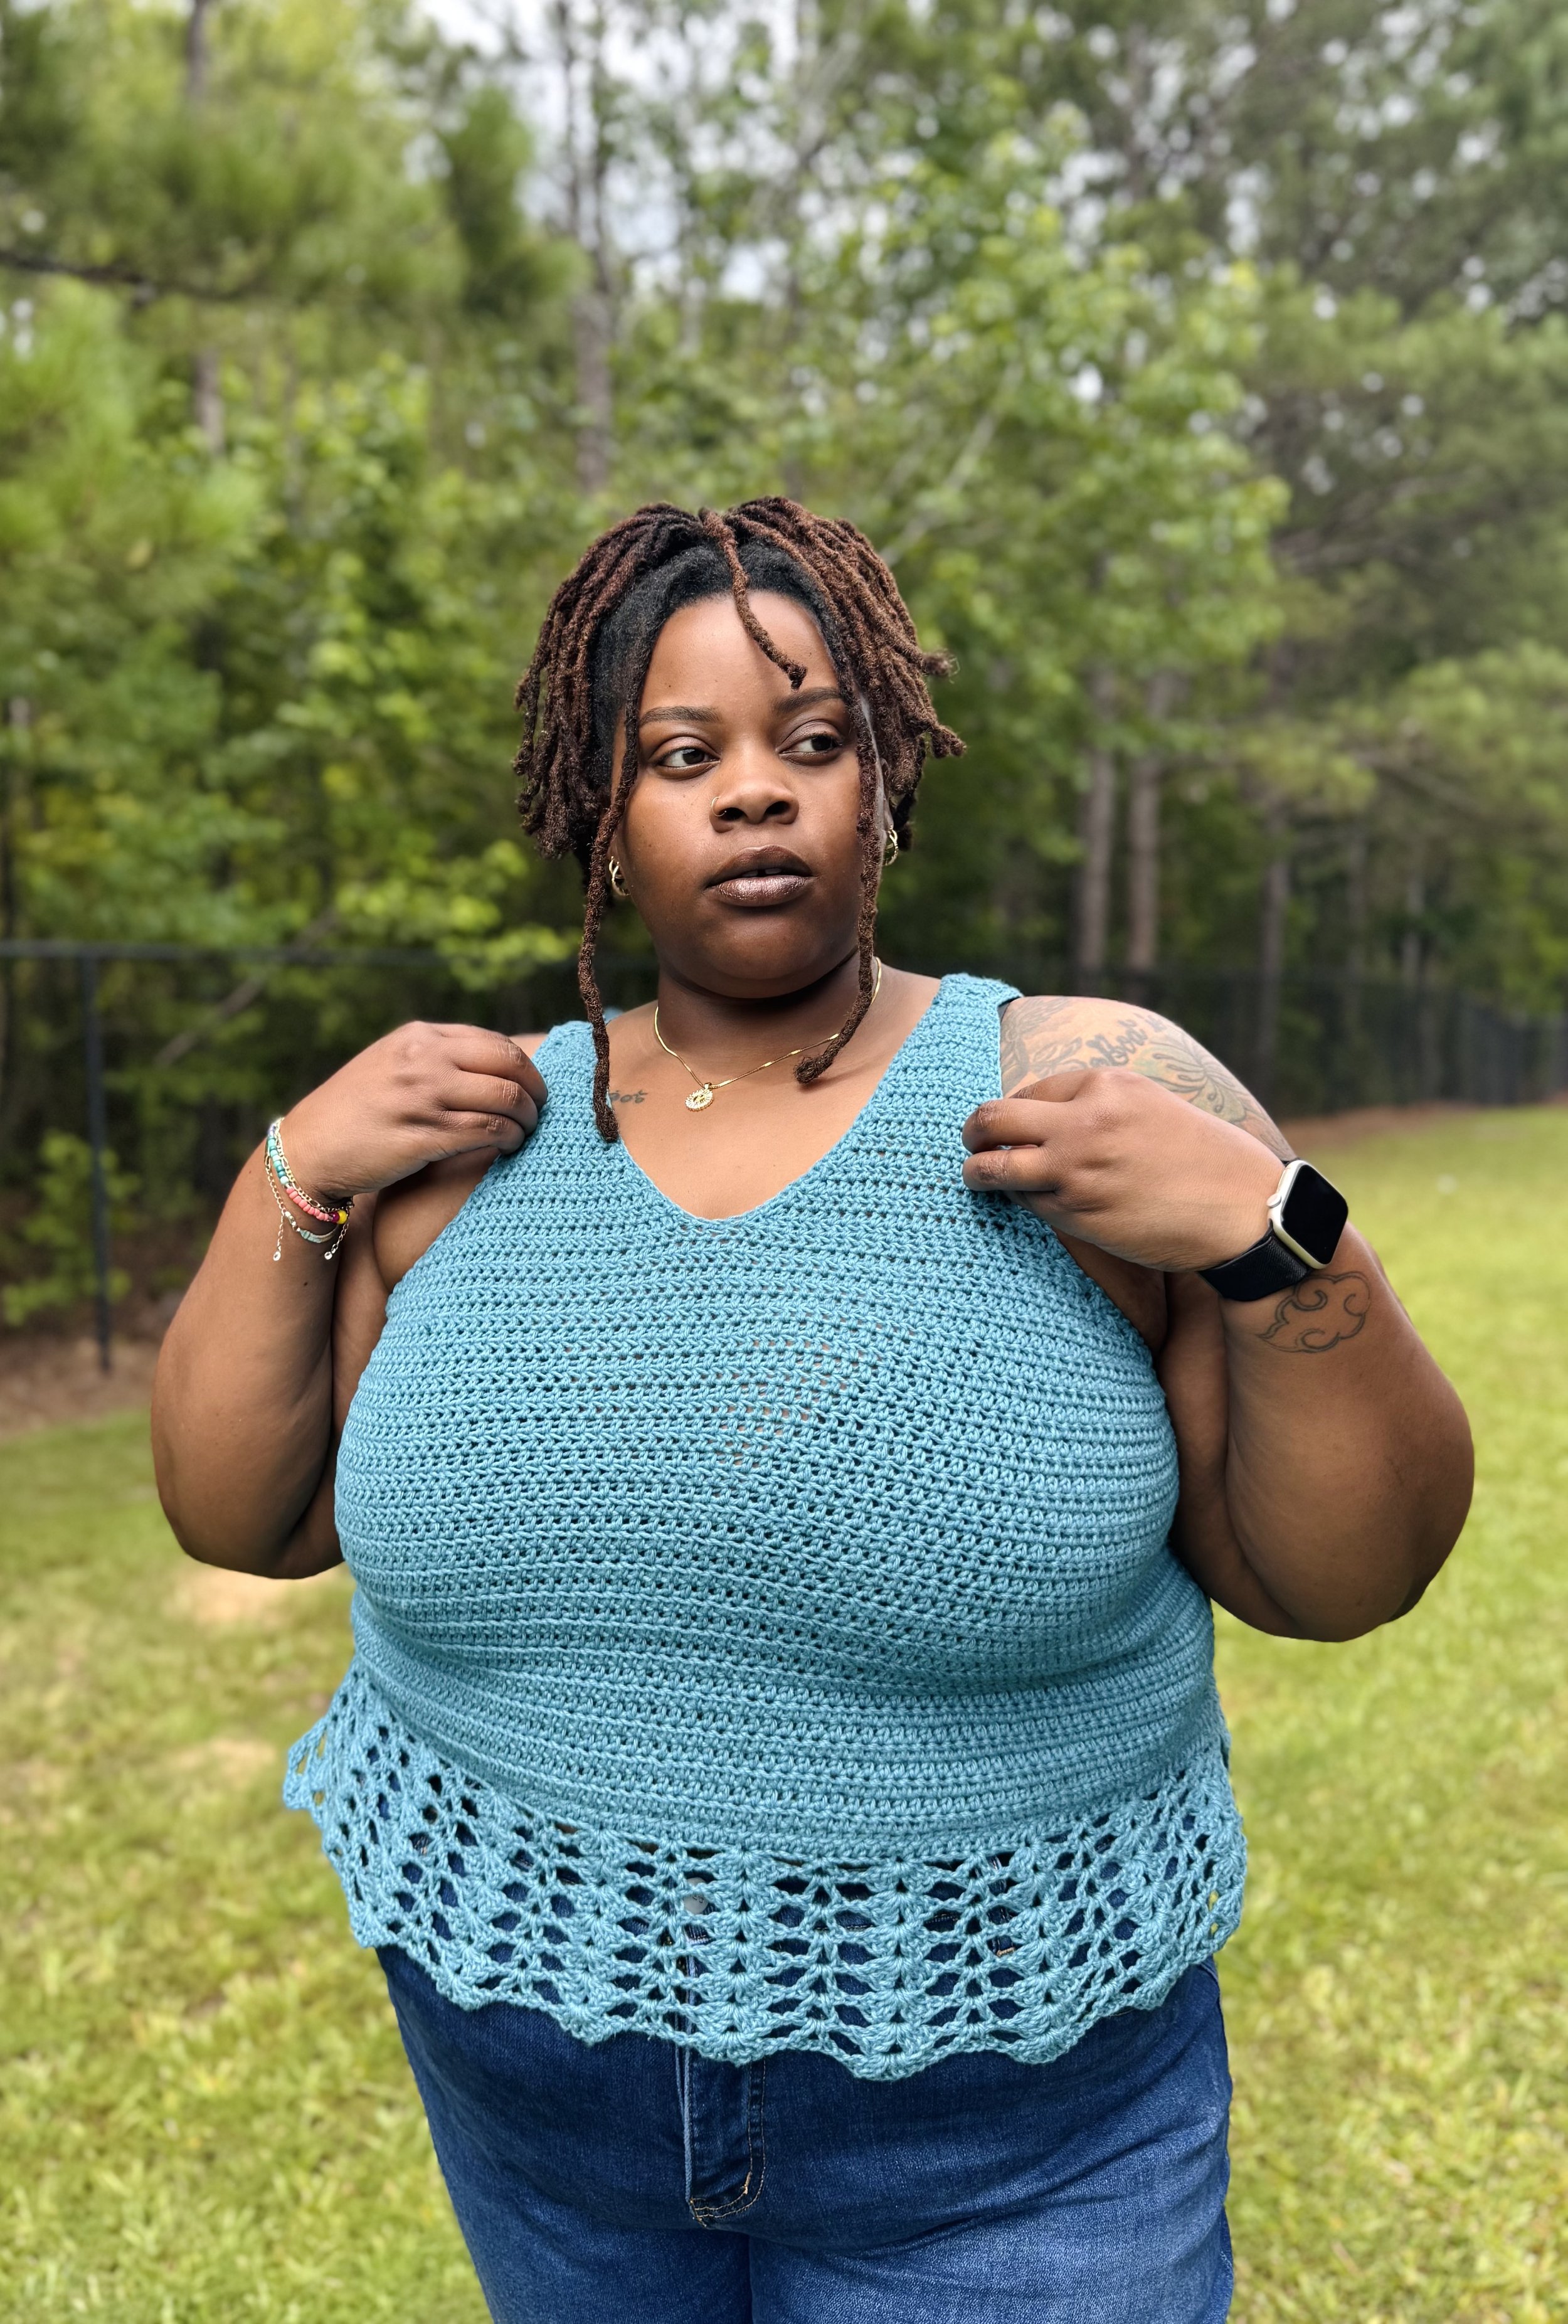
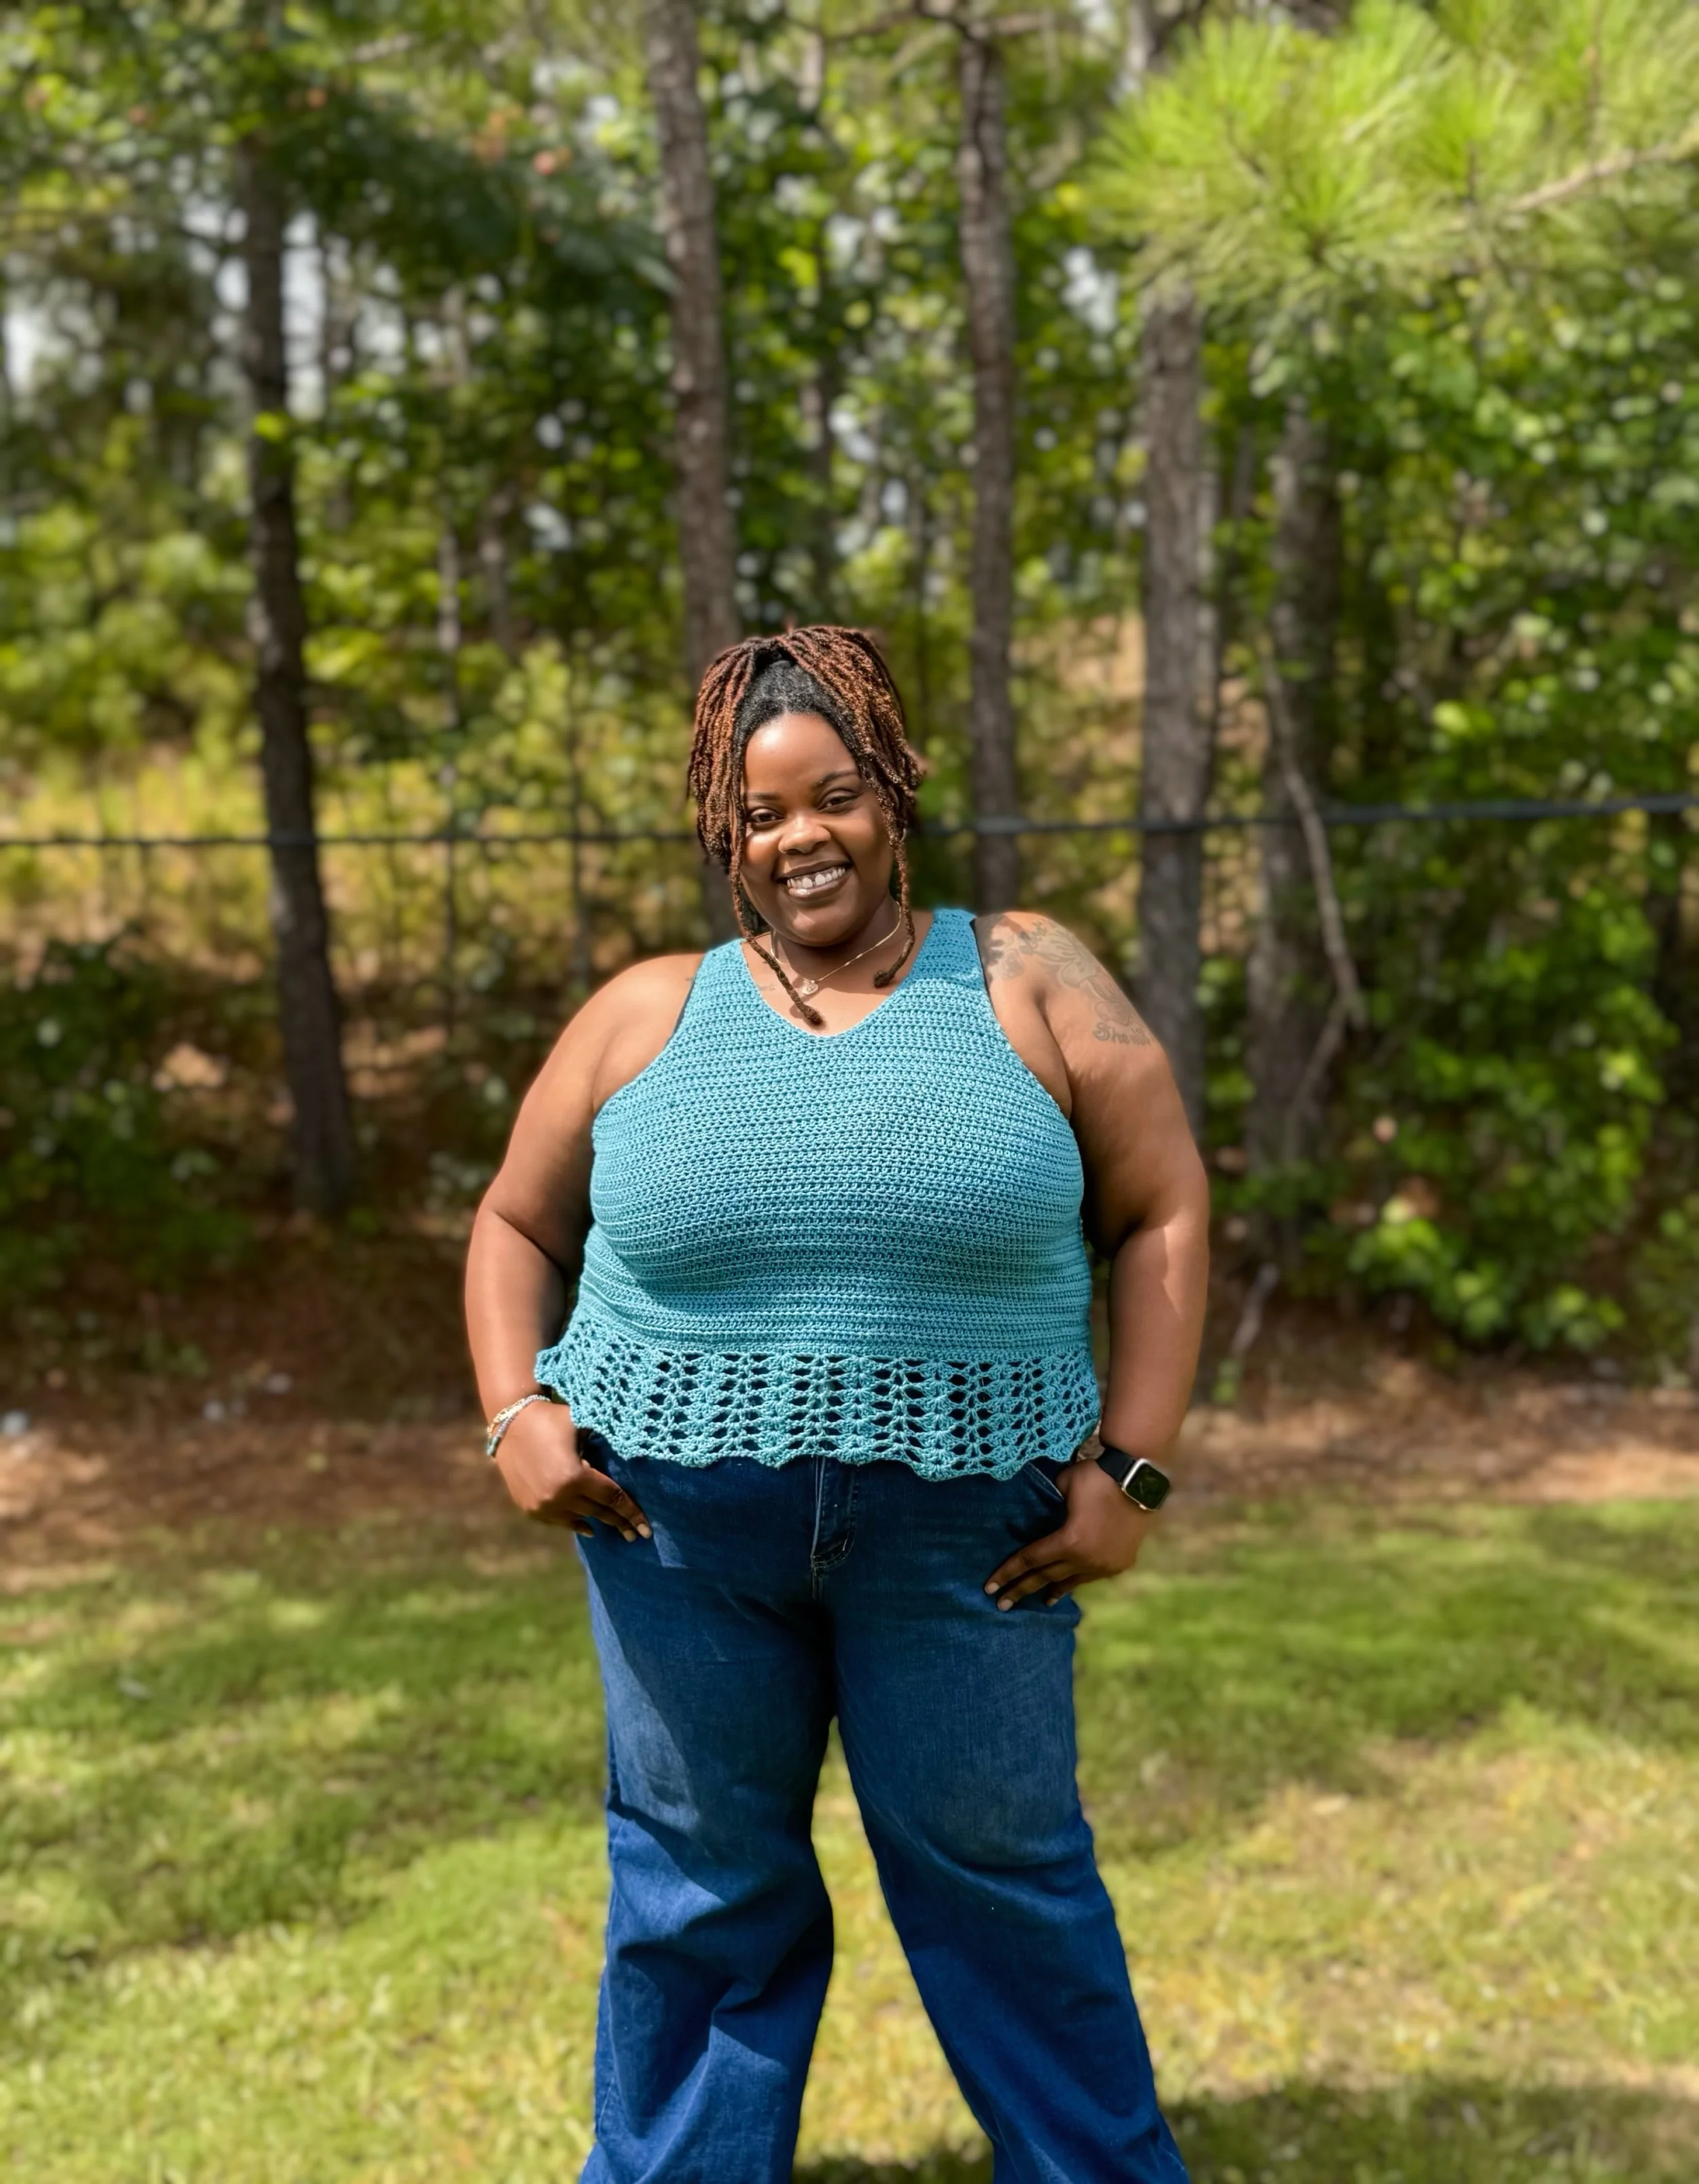
Meet the Chloe Top, a lightweight crochet tank with a simple silhouette and a lace hem that does all the talking.
I wanted this design to be something you could easily throw on with jeans or shorts while still having enough detail to make it feel special. The body is kept simple with classic half double crochet, while the open lace hem gives the top a completely different look.
And because you already know I’m not leaving my plus-size girls behind, the Chloe Top is available in nine sizes from XS through 5XL.
Keep scrolling for the full free crochet tank top pattern, or grab the printable PDF if you’d rather crochet without being attached to the blog.
About the Chloe Top
The Chloe Top is constructed from two identical panels, so the actual construction is pretty straightforward.
Each panel starts with a solid half double crochet body. Decreases create the armhole shaping before the panel splits to form the V-neckline and straps. Once the main portion of the panel is finished, you’ll rotate your work and add the open lace design along the bottom.
After making both panels, they’re seamed together at the shoulders and sides. A simple single crochet edging around the neckline and armholes finishes everything off.
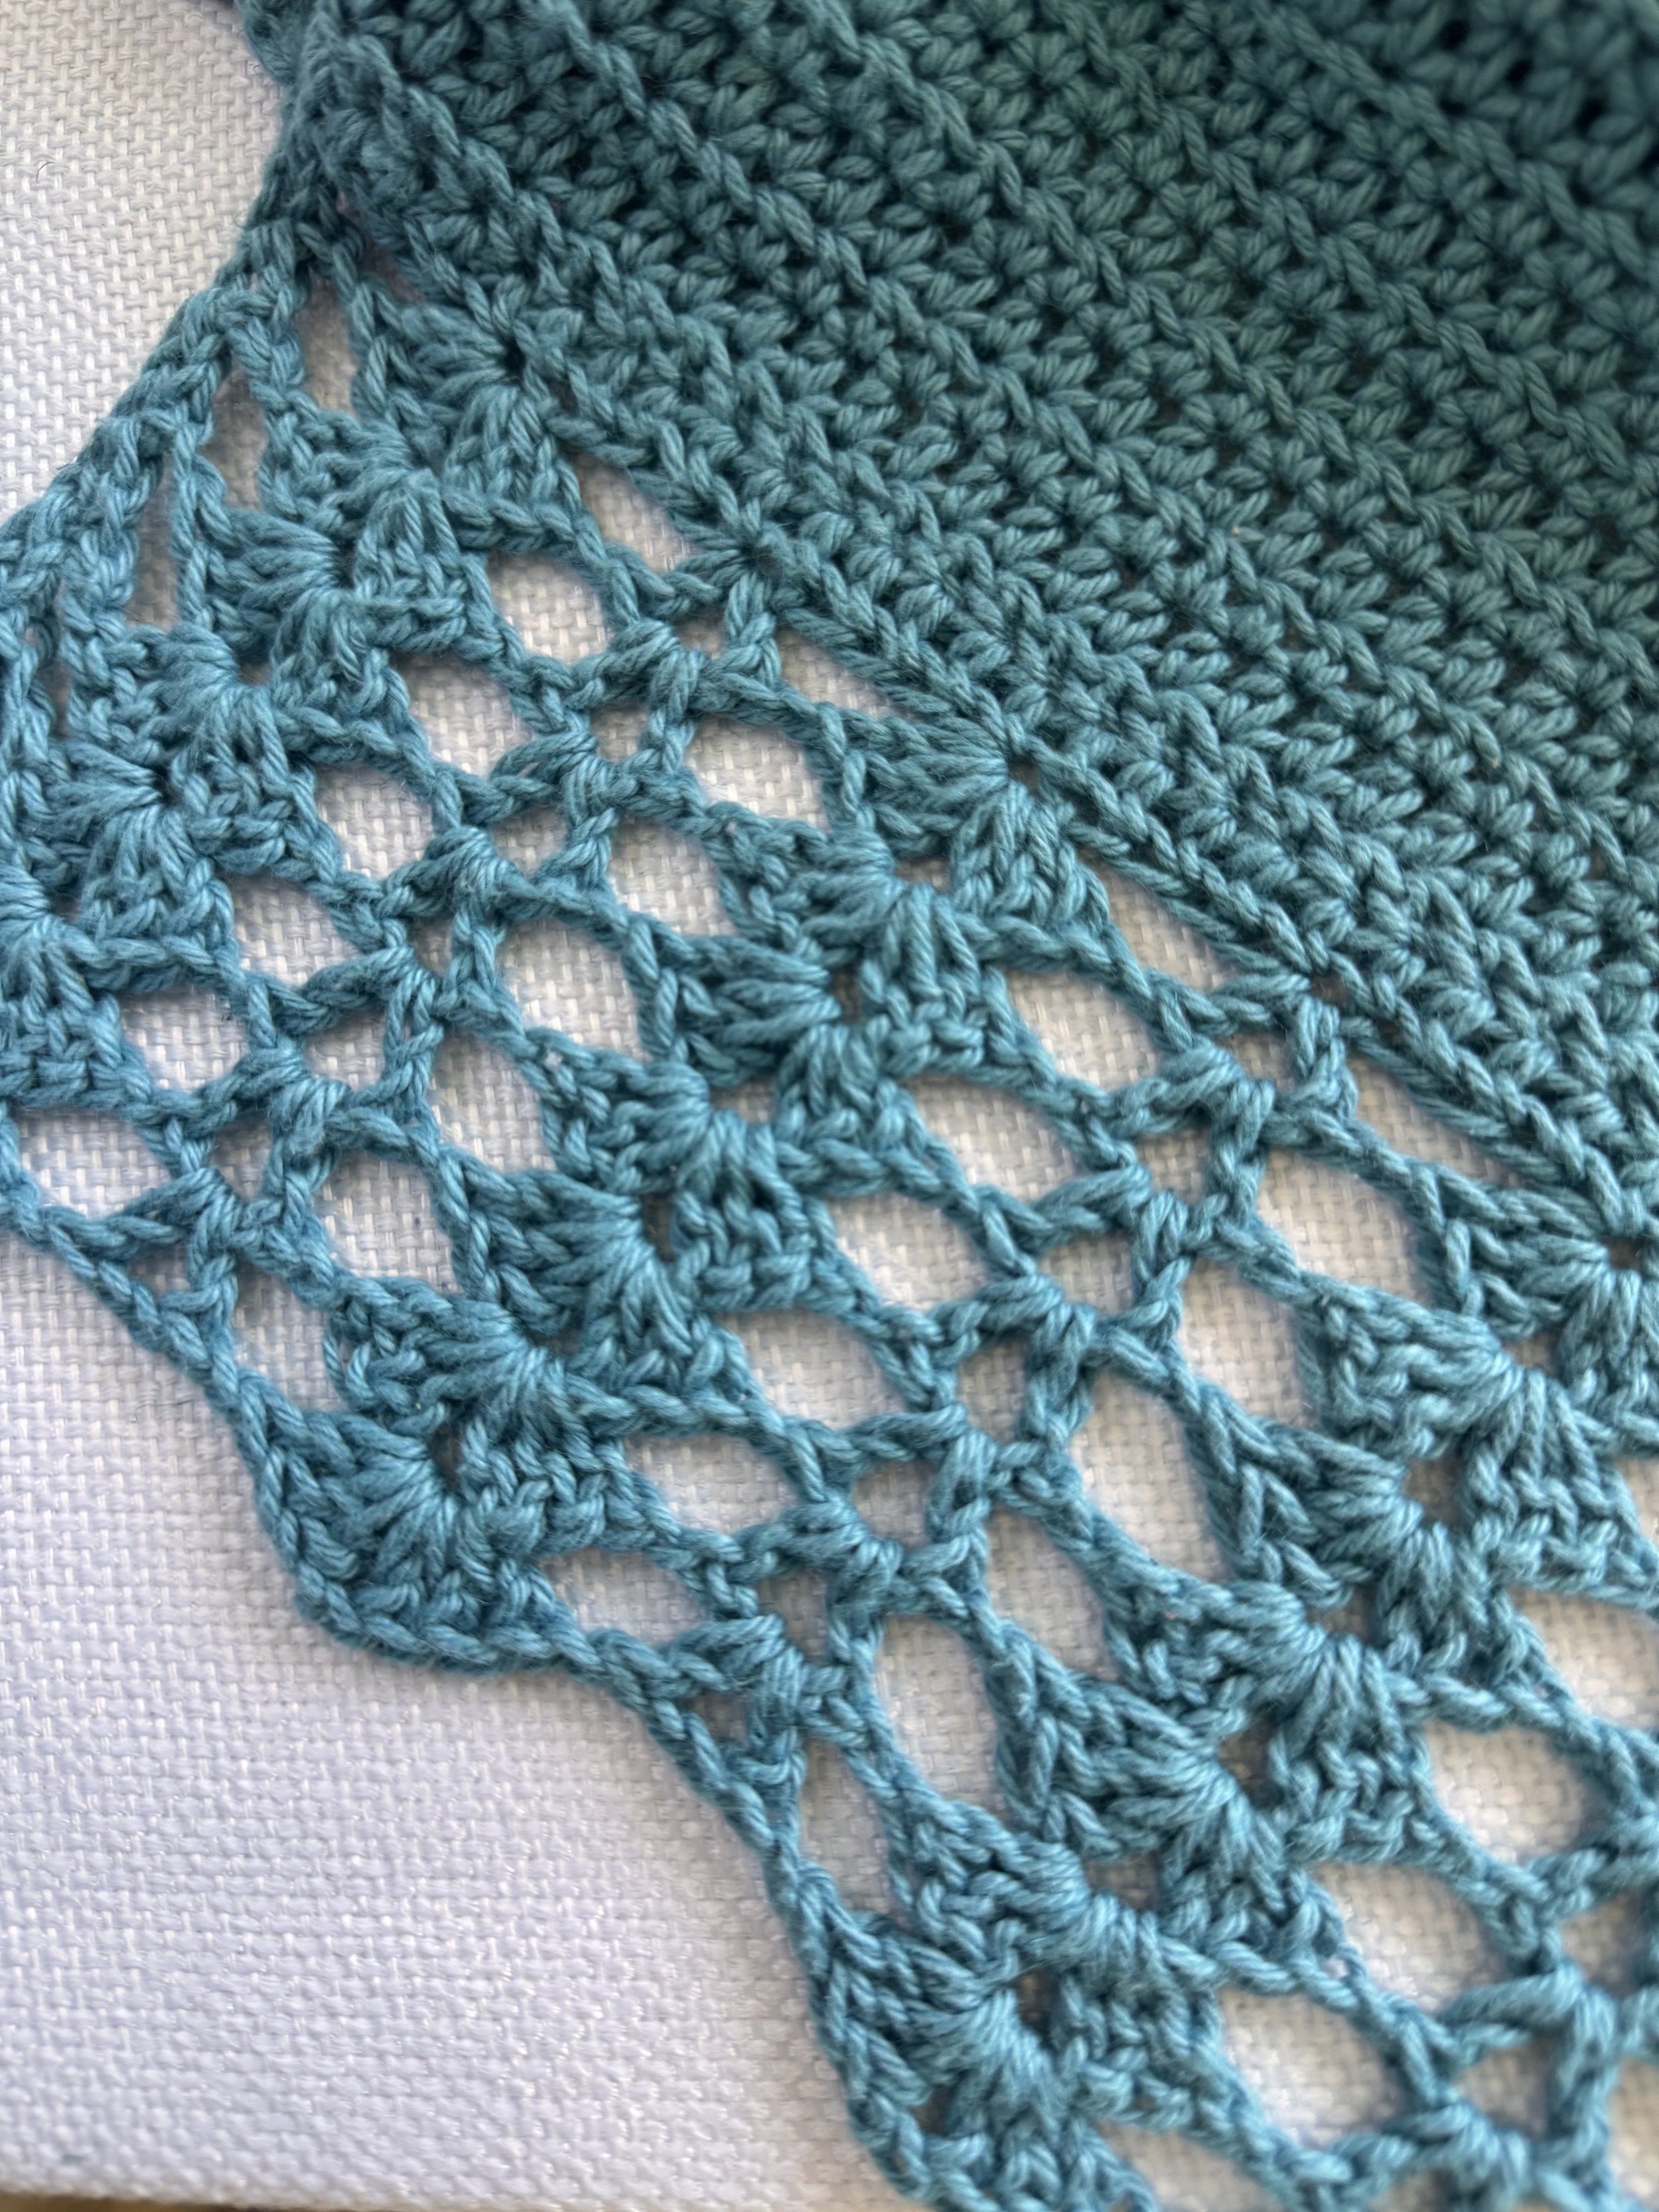
The lace hem is definitely my favorite part. It gives the top plenty of detail without requiring you to work a lace stitch pattern throughout the entire garment.
Save this pattern for later!
Not ready to start the Chloe Top just yet? Pin this free crochet tank top pattern to your crochet board on Pinterest so you can easily find it when you’re ready to make yours.
Sizing & Finished Measurements
The Chloe Top is written in XS (S, M, L, XL) (2XL, 3XL, 4XL, 5XL).
When choosing your size, I recommend using the finished garment measurements rather than relying on the size name alone. Choose the finished bust measurement based on the amount of ease and overall fit you prefer.
Finished Bust:
28 (32, 36, 40, 44)(48, 52, 56, 60)”
Finished Length:
18.5 (19.25, 20, 20.75, 22.25) (23.75, 25.25, 26, 26.75)"
Finished measurements are approximate and may vary slightly depending on your individual gauge and tension.
Yarn
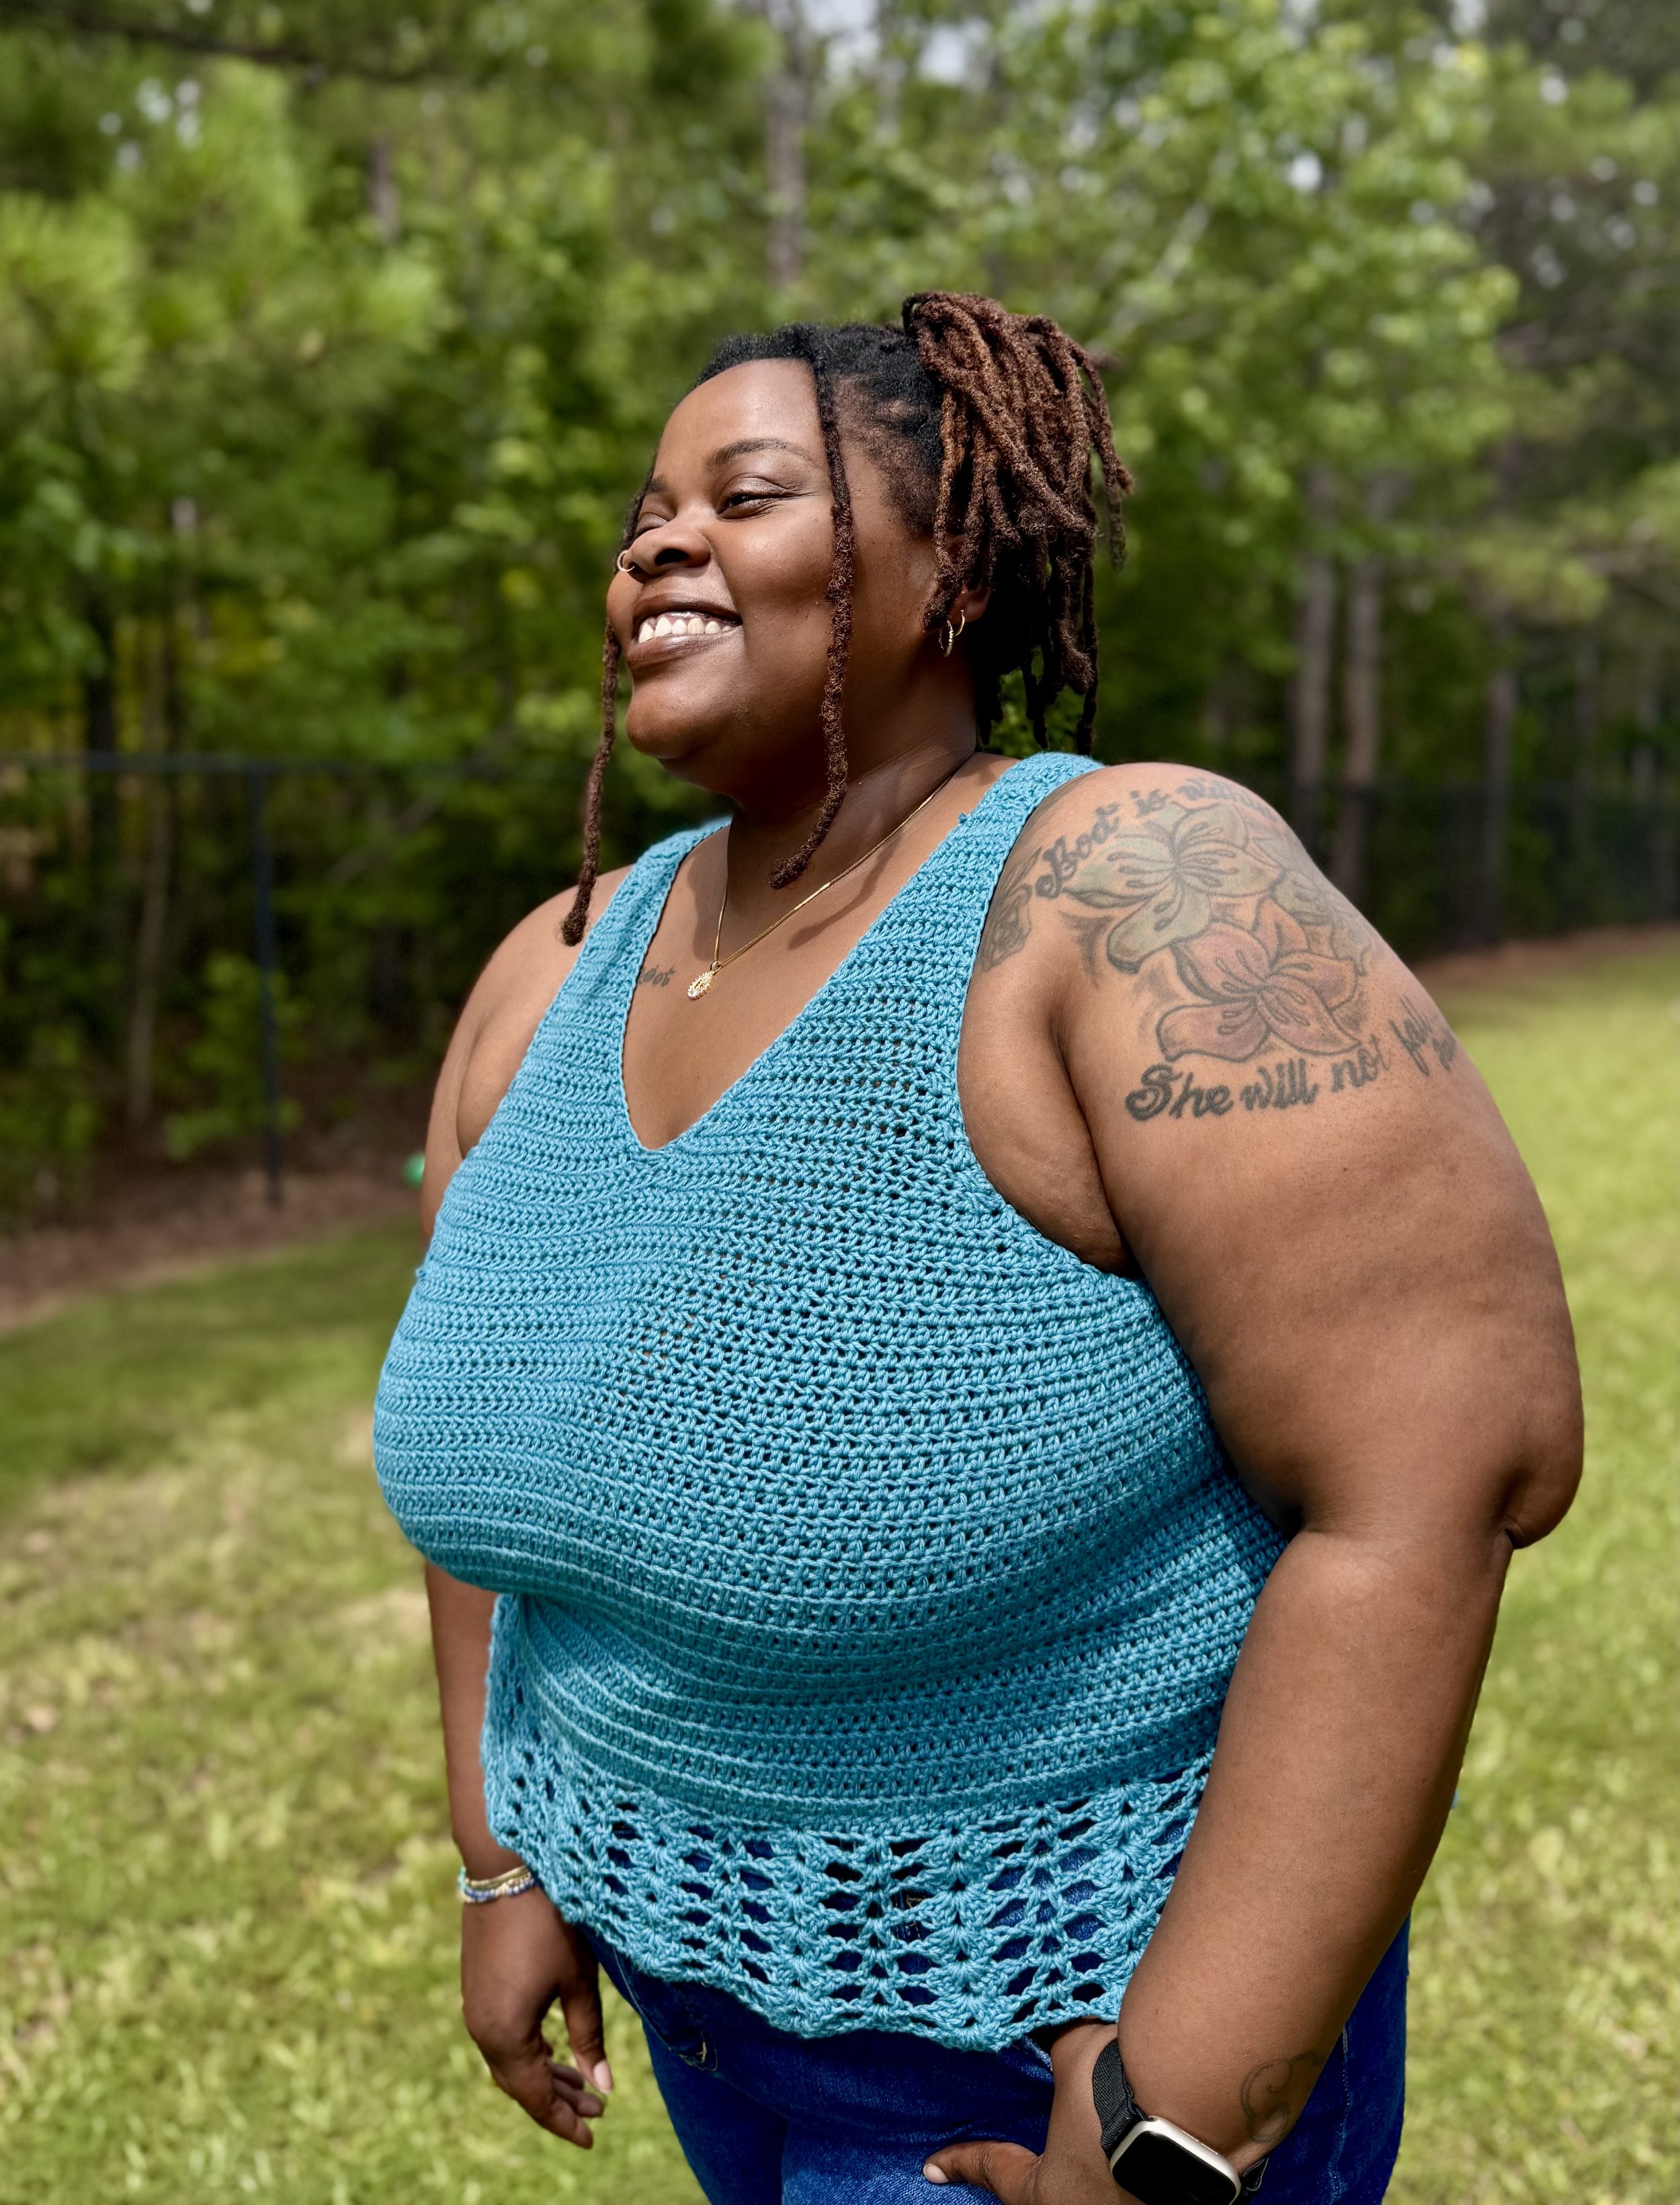
For my Chloe Top, I used WeCrochet CotLin, a DK weight cotton and linen blend.
CotLin gives the top a lightweight feel and nice drape, which works especially well for a warm-weather crochet garment like this one.
If you decide to substitute yarn, I recommend choosing another DK weight yarn with similar characteristics. Most importantly, make sure you're able to meet the pattern gauge before beginning.
Approx. Yarn Required:
4 (4, 5, 5, 6) (7, 7, 8, 9) 50 g balls
Yarn amounts are approximate and may vary depending on gauge and individual tension.
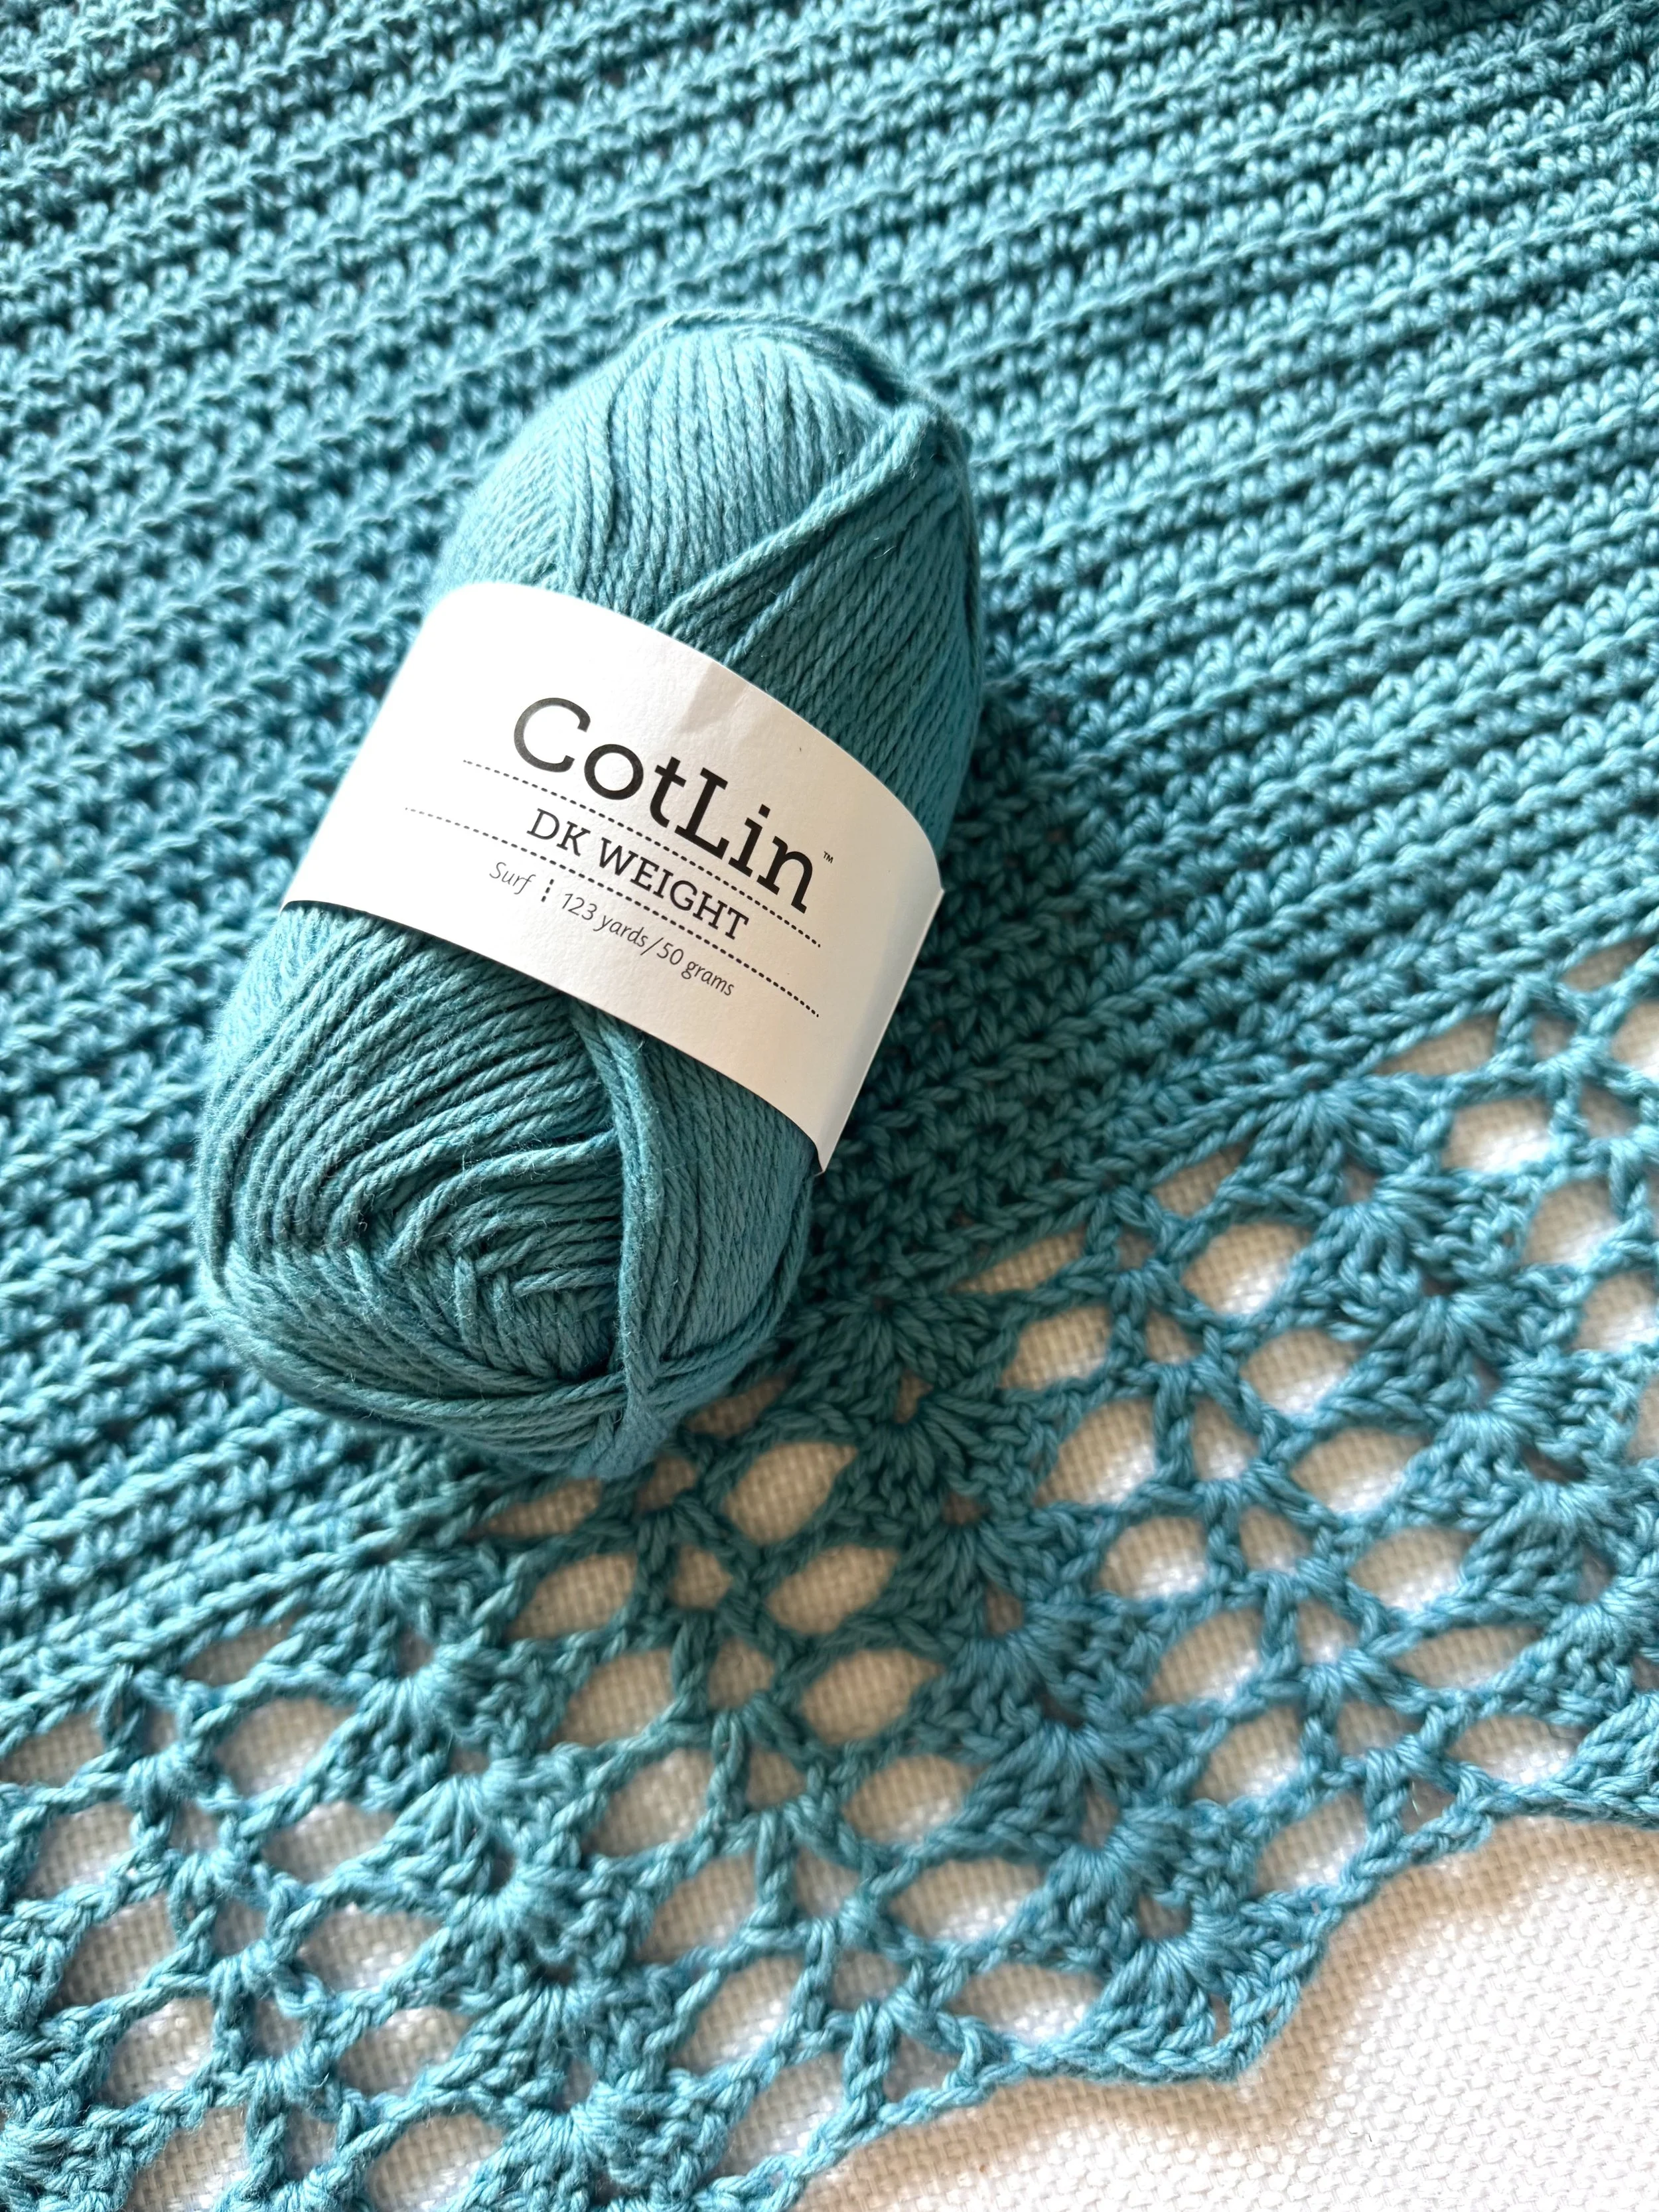
Materials
WeCrochet CotLin or similar DK weight yarn
4.00 mm crochet hook or size needed to obtain gauge
Scissors
Tapestry needle
Stitch markers
Measuring tape
Gauge
23 sts x 18 rows = 6" measured over hdc
Gauge is extremely important for this pattern. The gauge swatch and sample garment were measured without blocking. Be sure to match gauge before beginning to ensure the finished garment achieves the intended fit and measurements.
Abbreviations
Ch – chain
Dc – double crochet
Fhdc – foundation half double crochet
Hdc – half double crochet
Hdc2tog – half double crochet 2 together
Hdc3tog – half double crochet 3 together
Rep – repeat
RS – right side
Sc – single crochet
Sk – skip
Sl st – slip stitch
Sp – space
St – stitch
Sts – stitches
WS – wrong side
Pattern Notes
Pattern is written using US crochet terminology.
Instructions are written for sizes XS (S, M, L, XL) (2XL, 3XL, 4XL, 5XL).
The Chloe Top is constructed from two identical panels that are seamed together at the shoulders and sides.
The measurements of the finished piece are taken with the top laying flat, but depending on the yarn chosen, it may stretch slightly when worn.
Chloe Top Free Crochet Pattern
Body Panels – Make 2
Row 1 (rs): Fhdc 56(64, 72, 80, 88)(96, 104, 112, 120). Turn.
Rows 2-20(20, 20, 20, 22)(24, 26, 26, 26): Ch 1. Hdc across. Turn.
Decrease Row: Ch 1. Hdc3tog over first 3 sts, hdc in each st across until 3 sts remain, hdc3tog over last 3 sts. Turn. (4 sts decreased)
Next Steps: Rep decrease row 1(3, 5, 7, 9)(11, 13, 15, 17) more times. 48 sts remain.
Do Not Cut Yarn.
Neckline Setup/Strap 1
Note: With the rs facing, place a stitch marker in each of the center stitches (sts 24 and 25) of the last row worked. The marked stitches will remain unworked until the edging section.
Row 1: Ch 1. Hdc3tog over first 3 sts. Hdc across until first marked st. Turn.
Row 2: Ch 1. Hdc2tog over first 2 sts. Hdc across until 2 sts remain. Hdc2tog over the last 2 sts. Turn.
Rows 3-5: Rep row 2.
Row 6: Ch 1. Hdc2tog over first 2 sts. Hdc across. Turn.
Row 7: Hdc across until 2 sts remain. Hdc2tog over last 2 sts. Turn.
Row 8: Ch 1. Hdc across. Turn.
Row 9: Ch 1. Hdc across until 2 sts remain. Hdc2tog over last 2 sts. Turn.
Rows 10-19: Rep rows 8-9 consecutively.
Fasten off. Leave long tail for seaming.
Strap 2
Note: Join yarn to the first st at the opposite end of the last decrease row.
Next Steps: Rep rows 1-19 of Strap 1 section.
Hemline Design
Note: To begin working the design section, rotate the panel so you are working along the bottom edge. Join yarn to the first st of the bottom edge. Follow the Design Setup Row for the size you are making.
Design Setup Row
XS: Ch 1. Hdc in next 9 sts. 2 hdc in next st. *Hdc in next 10 sts. 2 hdc in next st. Rep from * 3 more times. Hdc in remaining sts. Turn. (61 sts)
S: Ch 1. *Hdc in next 8 sts. 2 hdc in next st. Rep from * until 1 st remains. Hdc in last st. Turn. (71 sts)
M: Ch 1. Hdc in next 35 sts. Hdc2tog. Hdc in remaining sts. Turn. (71 sts)
L: Ch 1. Hdc in next 40 sts, 2 hdc in next st. Hdc in remaining sts. Turn. (81 sts)
XL: Ch 1. *Hdc in next 21 sts. 2 hdc in next st. Rep from * 2 more times. Hdc in remaining sts. Turn (91 sts)
2XL: Ch 1. *Hdc in next 18 sts. 2 hdc in next st. Rep from * 4 more times. Hdc in last st. Turn (101 sts)
3XL: Ch 1. *Hdc in next 25 sts. Hdc2tog. Rep from * 2 more times. Hdc in remaining sts. Turn. (101 sts)
4XL: Ch 1. Hdc in next 56 sts. Hdc2tog. Hdc in remaining sts. Turn. (111 sts)
5XL: Ch 1. Hdc in next 60 sts. 2 hdc in next st. Hdc in remaining sts. Turn. (121 sts)
Design
Note: Ch 3 (t-ch) counts as a dc in this section only. Shell = (3 dc, ch 2, 3 dc). V-st = (dc, ch 2, dc).
Row 1: Ch 3. Dc in same st. Ch 1. Sk 4 sts. Shell in next st. Ch 1. Sk 4 sts. V-st in next st. Rep from * until 10 sts remain. Ch 1. Sk 4 sts. Shell in next st. Ch 1. Sk 4 sts. 2 dc in last st. Turn.
Row 2: Ch 3. Dc in same st. Ch 1. Shell in next shell ch-2 sp. Ch 1. V-st in next V-st ch-2 sp. Rep from * across until last shell remains. Ch 1. Shell in last shell ch-2 sp. Ch 1. 2 dc in t-ch. Turn.
Next Steps: Rep row 2 five more times.
Fasten off.
Assembly
All assembly is done with a whipstitch using a tapestry needle. Feel free to use your preferred method of seaming.
Lay the panels with rs facing each other. Use stitch markers to align the shoulders and side edges.
Using the long tail left on the strap section, seam the shoulder seams only. Fasten off and weave in ends. Repeat on the opposite shoulder.
Align the side edges beginning at the first decrease row. Seam each side from directly below the first decrease to the bottom edge. Fasten off and weave in ends.
Armhole Edging
Note: For a thicker edge, continue repeating the edging rows until desired width is reached.
Turn the top rs out. Attach yarn to the top of either side seam at the bottom of the armhole.
Sc evenly around the armhole, working approximately 1 sc in the side of each row. Sl st to the first sc. Fasten off and weave in ends.
Repeat on the opposite armhole.
Neckline Edging
Designate the front and back of the top. With rs facing out, attach yarn to either of the 2 marked sts at the center V-neck of the front panel.
Sc in each of the 2 marked sts, then sc evenly around the neckline, working approximately 1 sc in the side of each row. When you reach the 2 marked sts on the back panel, work 1 sc in each marked st. Continue working evenly around. Sl st to first sc. Fasten off and weave in ends.
Finishing Your Chloe Top
Once all of your ends are woven in, your Chloe Top is ready to wear!
The sample shown was not blocked. If you choose to block your finished top, keep in mind that the final measurements and drape may change depending on the fiber content of the yarn you use.
Want the Printable Chloe Top Pattern?
The complete Chloe Top pattern is available for free right here on the blog, but if scrolling back and forth while crocheting isn’t your thing, you can grab the printable PDF version instead.
The PDF gives you the pattern in an easy-to-save format that you can download, print and keep in your pattern library.
Find the Chloe Top on Ravelry
Prefer keeping all of your crochet patterns and projects together on Ravelry? You can also find the Chloe Top there and add it to your favorites, queue or project library.
If you make your own Chloe Top, I’d love to see it! Tag @designsbykey on Instagram and use #dbkeypatterns so I can check out your version.
And don’t forget to save the Chloe Top on Pinterest so you can come back to the pattern anytime.
Happy crocheting!