
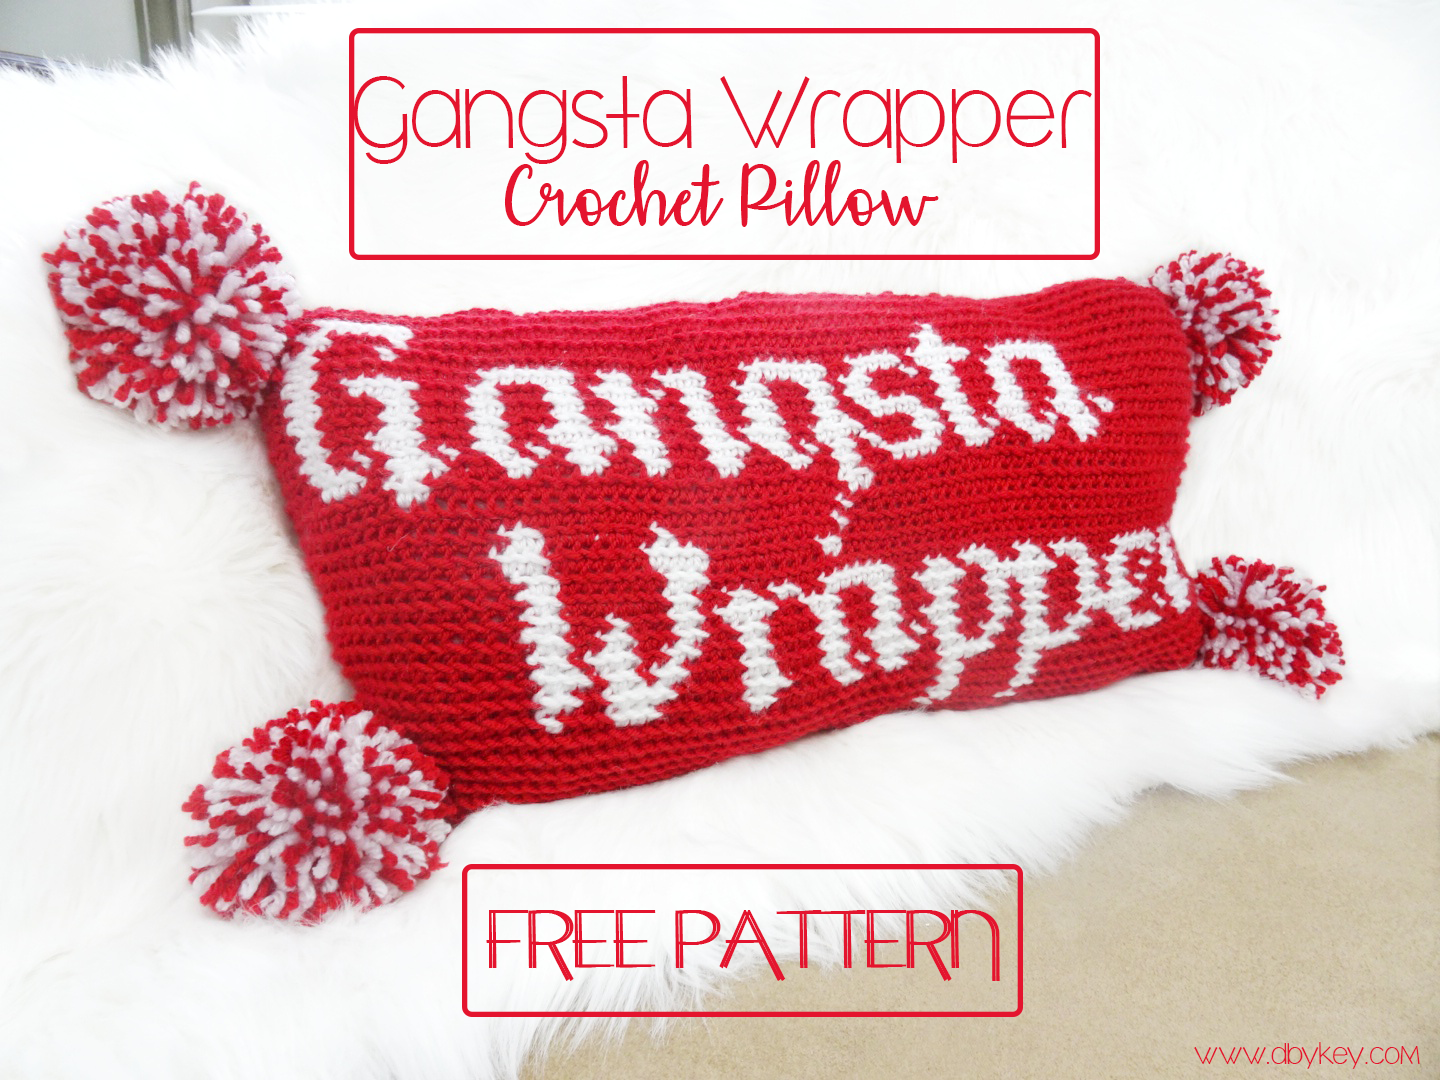
Gangsta Wrapper Crochet Pillow

The Holidays are here again, which means it’s time to scramble to make last minute gifts and decorations. Don’t you worry, I have an easy project for you this season.
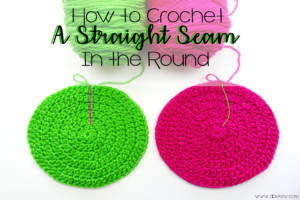
If you’ve been following me for a while, then you know that tapestry crochet is my first love. Having the ability to turn yarn into sayings and pictures is amazing to me. Tapestry crochet can be a very intimidating process, but the results are so worth it. If you’ve never tried tapestry crochet before, be sure to check out my other free patterns like the “GirI Boss” Crochet Pouch or the “Dope” Crochet Pouch.

I recently moved out on my own, and quickly realized that I have no seasonal decorations whatsoever. So as a maker, you know I immediately got to work on some festive ideas. I wanted my living room to scream CHRISTMAS, but it also needed to fit my personality, thus the “Gangsta Wrapper” Pillow.
This pattern is perfect for those who’ve always wanted to learn this crochet technique, and also for those who’ve been doing this for a while. The pattern utilizes the modified single crochet stitch for the entire project, so that means there are no fancy stitches to learn. If you’re unfamiliar with the modified crochet stitch, no worries, just click here. The size of the pillow can be easily adjusted just by changing the size of your hook. Sounds simple enough right?
This pillow has been a huge hit in my home, and now it’s time to make your own. Let’s Get Started!
The Gangsta Wrapper Crochet Pillow
MATERIALS
J/10-6.00MM Crochet Hook
Red – 100% Acrylic Yarn (Sample made with Premier Everyday 100% Anti Pilling Acrylic)
White – 100% Acrylic Yarn
Stitch Marker
Needle for weaving ends
Scissors
Pom Pom Maker (Optional)
PATTERN NOTES
- This pattern is worked in continuous rounds unless otherwise notated.
- Remember to place stitch marker in turning stitch each round to keep track of the beginning stitch.
- When a color is not in use, do not carry it throughout the project. Drop the unused color at the beginning of the round.
- When the unused color is ready for use, either carry the color up the side of the pouch or cut a tail and reattach the yarn to the new stitch.
- The graph pattern is 73 stitches wide.
- The additional SC at each end of the row counts as a turning stitch.
Chain 74 to create the foundation chain with grey yarn.
Row 1: 1 SC in the 2nd Ch from the hook ; 1 SC in the next 72 sts. (Rotate to begin working on the other side of the foundation chain.) Work 1 additional SC in the same ch as last SC worked; Work 1 more SC in the SAME ch as last SC worked. (There should be a total of 3 sts in the last chain of the row.); 1 SC in each of the next 72 sts. ; Work 1 additional SC in the same ch as last SC worked; DO NOT JOIN. (146 SC + 2 SC turning sts.= 148 SC)
***Remember to place a stitch marker in each of the turning stitches (the middle stitch in the groups of 3 SC at each end of the row.) Be sure NOT to include them as a part of the graph or your numbers will not be correct.
Row 2-3: 1 mSC in each st around. DO NOT JOIN. (148 mSC)
Row 4-29: Begin using graph pattern to complete rows ; Add in Color B on Row 4 a few stitches before starting the color work.)
Row 30: 1 mSC in each st around. DO NOT JOIN. (148 mSC)
Row 31: 1 mSC in each st around. Sl St to 1st st of the round. Ch 1. DO NOT TURN. (148 mSC)
Row 32: 1 mSC in each st around. Sl St to 1st st of the round. Ch 1.
FASTEN OFF. Be sure to leave a long tail to sew your pillow closed.

FINISHING TOUCHES
To give your pillow some flair, consider adding an edging or a fun applique. I chose to add pom poms to the corners of my pillow for a festive look for the holidays, but this part is totally up to you. Let your creativity fly!
Aaaand you’re done!
I would absolutely love to see your how your project turned out! Share your finished work with me on Instagram!
@designsbykey
#dbkeypatterns