

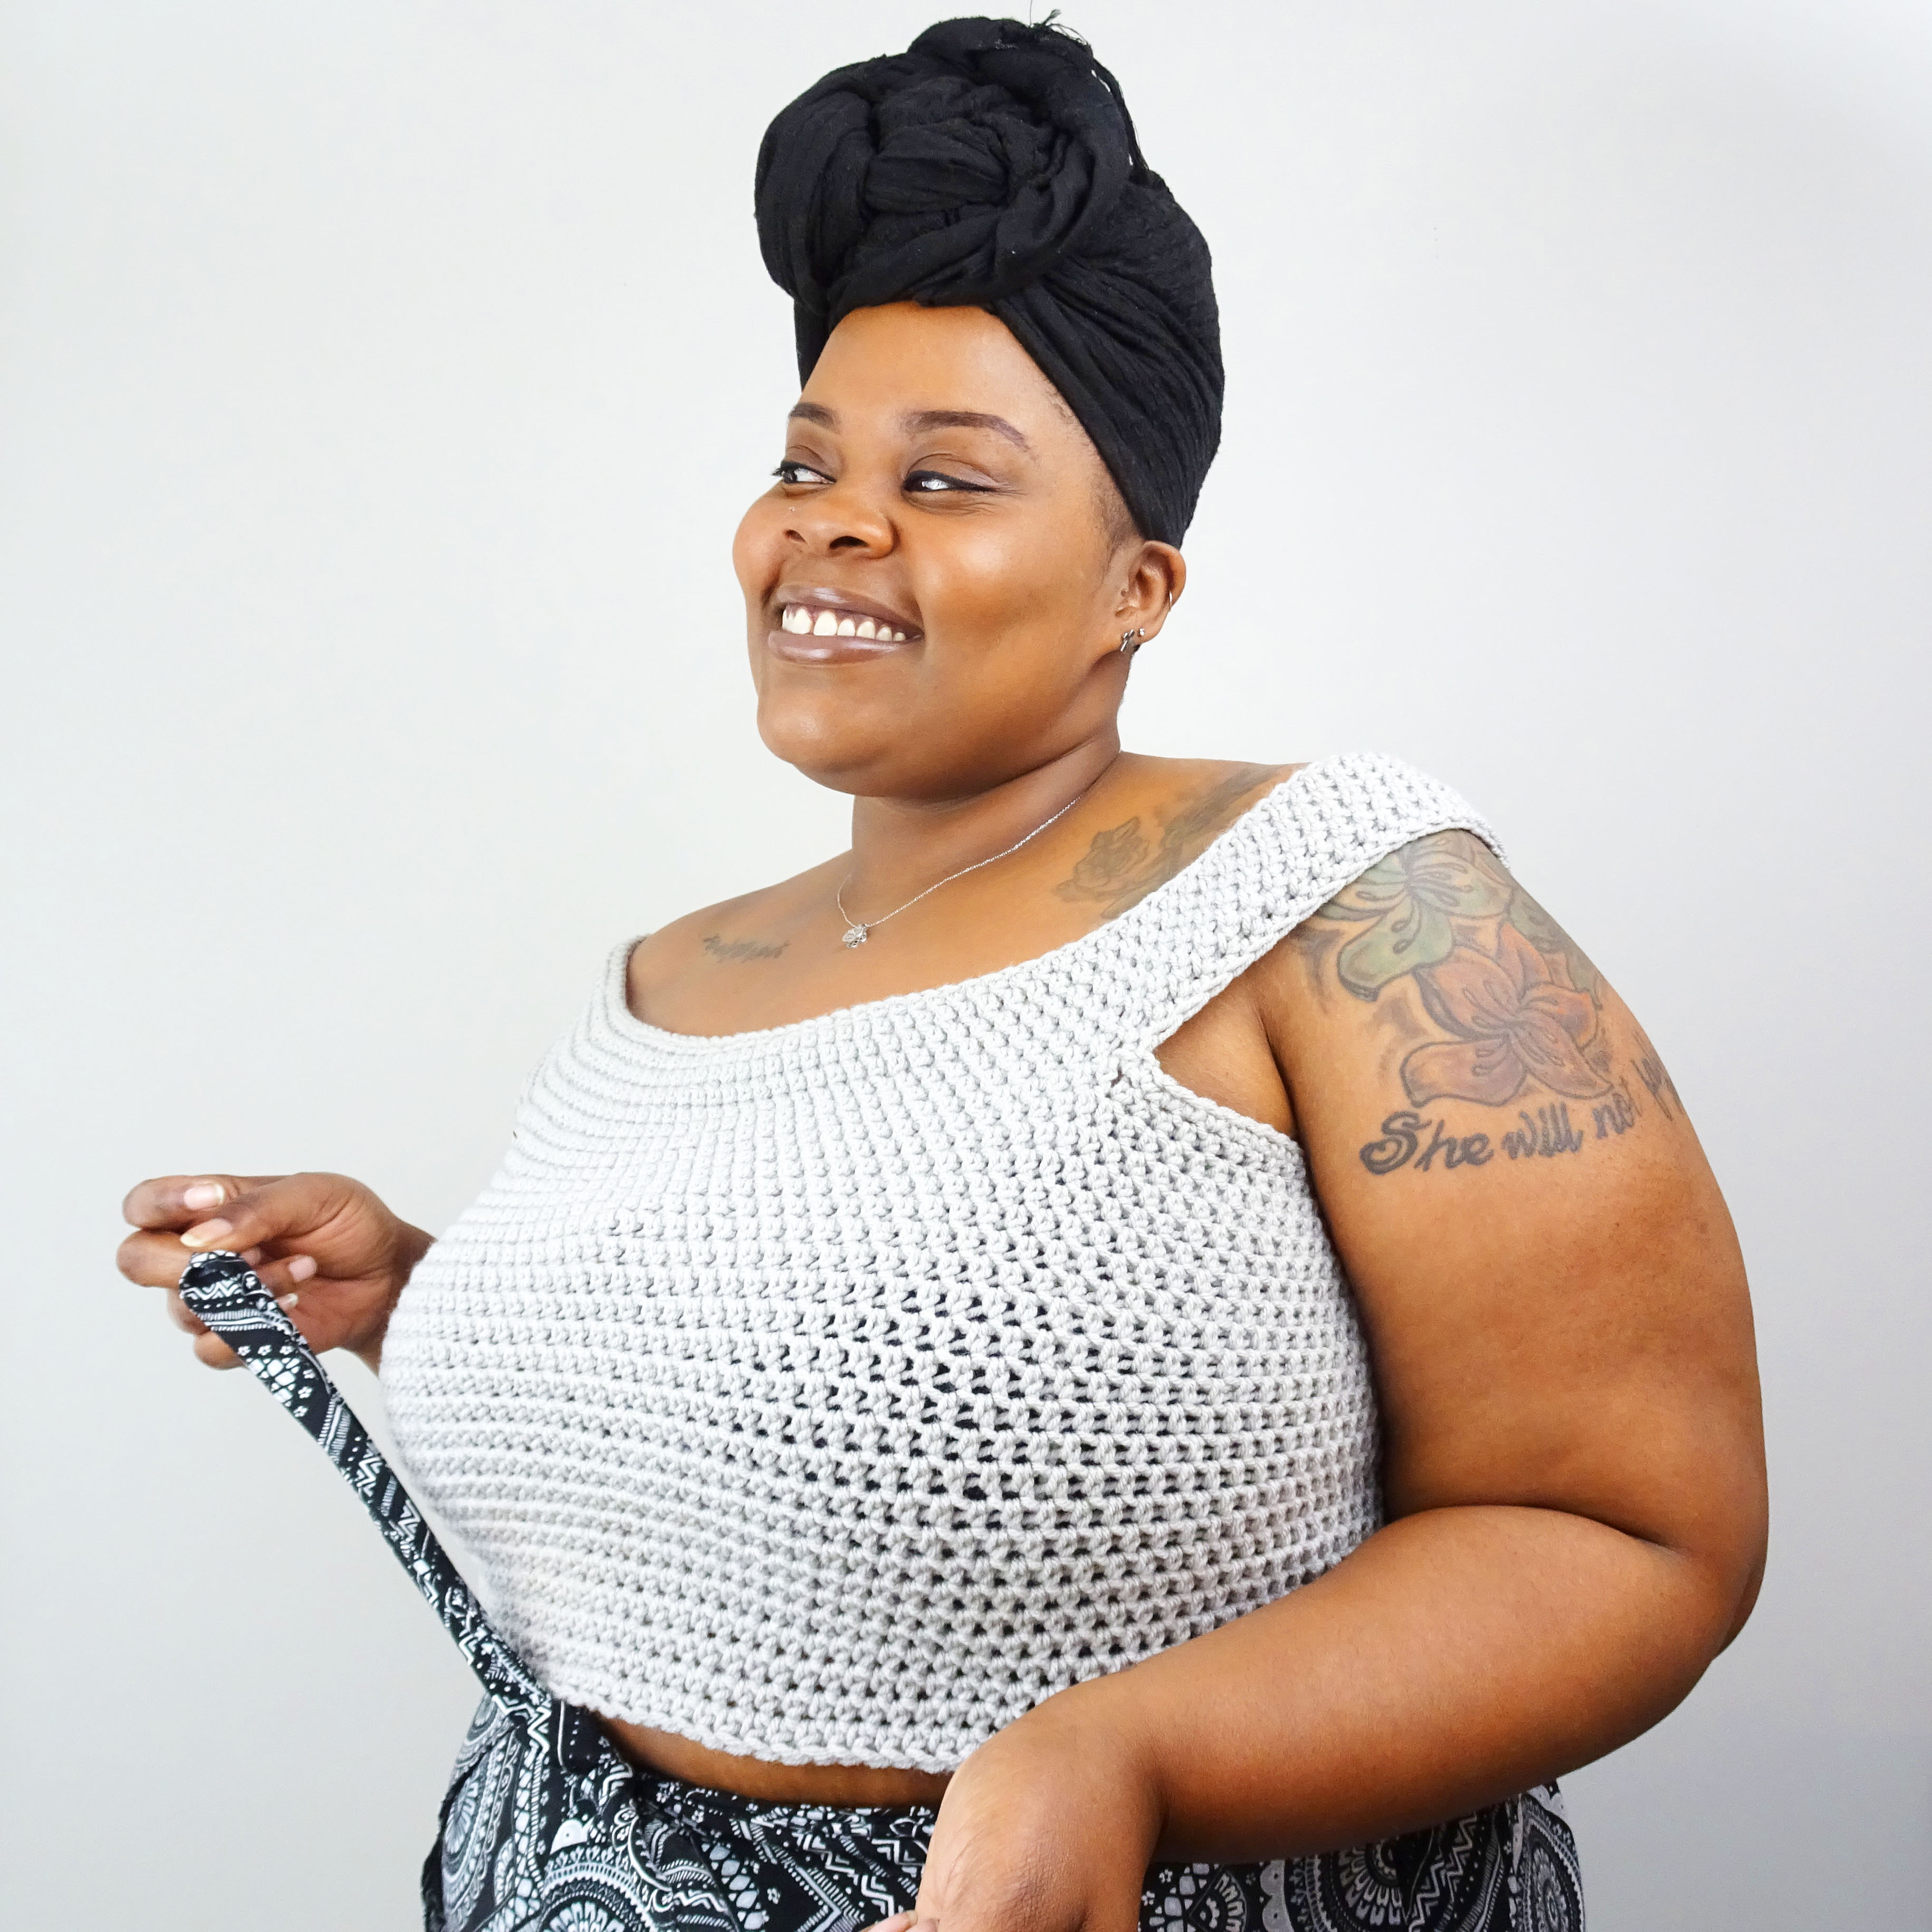
Off the Shoulder Crochet Crop Top
Get ready for a little shoulder action – the Off the Shoulder Crochet Crop Top is here! If you’d like to know more about how this crochet crop top came to be, keep reading. Or scroll down to get right to the free pattern!
This post may contain affiliate links.

It’s safe to say, I have a thing for showing shoulders. I’ve already designed a few off the shoulder crochet tops like the Diamonds in the Back top or the Blooming Bells top. And now it’s time to add another pattern to the bunch with this basic off the shoulder crochet crop top!
This year, I have 2 main crochet missions. The first is to put a dent in my yarn stash (let’s see how that goes), and the other is to expand my crochet knowledge. And making a top down crochet top was on the top of my list. After doing a poll, I discovered that I was not alone on this journey to learn about top down garments, so I knew I needed to jump into the topic head first.
The Inspiration
As you all know, I am a plus sized maker. The time that it takes to make a plus sized garment is nearly double the time it takes to make a smaller size. So needless to say I am always looking to shave some time off the time it takes me to complete a project. Time is the biggest reason I avoided top down garments for so long. My concern was that since the project would be all one piece, it would take forever to finish like a blanket or a shawl (which I’ve also dreaded FOREVER, but that’s a story for another post ?). But after making this top, I am happy to report that I was wrong!
With the use of just one basic stitch, a little basic math, and a simple seamless construction, this has to be the quickest top that I’ve ever made. I’m so glad I gave this top down thing another go, and I’ll definitely be trying it out again.
The Yarn
Come on…ya’ll know me by now. This sample was made with Hobby Lobby’s I Love This Yarn, like many of my other garment projects (Check out the Wrap Me Up Crop Top). It comes in skeins of approx. 355 yards and is my go to acrylic yarn time and time again. I don’t know about you guys, but I don’t always have the funds for fancy yarn, so for the texture and the price, I Love This Yarn is a winner in my book. It also gives me an excuse to roam around Hobby Lobby, but that another story for another post. I used about 405 yards (1.5 skeins) of this yarn to create the Off the Shoulder Crop in a 48″ bust or a 2XL.
Patterns I LOVE


Summer Breeze Crop 2.0 Wrap Me Up Crop


Off the Shoulder Crop Top Pattern
- Get the printer friendly, ad free PDF version of the pattern here.
- CLICK HERE to pin for later
- CLICK HERE to fave on Ravelry
Materials
- H/5.00 mm crochet hook
- Approx. 300 – 500 yards of Worsted weight yarn
- Sample made with Hobby Lobby’s “I Love This Yarn”
- Scissors
- Stitch Markers
- Needle for weaving in ends
- Your favorite show to “watch”
Gauge
4 inch square = 12 sts x 10 rows of hdc
Finished Size
- Bust – 28(32, 36, 40, 44, 48, 52, 56, 60)”
- Length – 12.5(13, 13.5, 13.5, 13.5, 14, 14, 14.5, 14.5)”
- XS(S, M, L, XL, 2XL, 3XL, 4XL, 5XL)
Abbreviations
- Fhdc – Foundation half double crochet
- Ch – Chain
- Rnd – Round
- Rnds – Rounds
- Sc – Single Crochet
- Sc2tog – Single crochet two together
- Sl st – Slip stitch
- St – Stitch
- Sts – Stitches
- Rep – Repeat
Pattern Notes
- The pattern is written for size XS with S, M, L, XL, 2XL, 3XL, 4XL, and 5XL in parentheses. Be sure to follow the instructions for the size you’re making.
- This pattern is worked in one piece in rounds from the top down.
- Ch 2 does not count as a stitch.
Special Stitches
- Fhdc – Foundation half double crochet. Click here to learn more about foundation stitches.
Start Here…
Foundation
Rnd 1: Fhdc 81 (90, 99, 108, 117, 126, 135, 144, 153). Sl st to first st to form a ring.
• If you are making a custom top using measurements, the foundation chain should be as long as the bust measurement. Be sure to stretch the chain when measuring to ensure proper fit around shoulders.
Rnds 2-6: Ch 2. Hdc in each st around. Sl st to 1st st.
Armholes
• Lay work with seam centered.
• Place st marker 10 (11, 12, 13, 14, 15, 16, 17, 18) sts in from each end, and also place a st marker in the st directly behind the sts you just marked.
• **Note: If you prefer to use measurements instead of st count, place st marker 3 (3.25, 3.5, 3.75, 4, 4.25, 4.5, 4.75, 5) inches in from each end**
• Attach yarn to front marked st. Ch 20 (22, 24, 26, 28, 30, 32, 34, 36). Attach yarn to back marked st with a sl st. Fasten off. Rep on other side.
Body
Rnd 7: Attach yarn to back seam. Ch 2. [Hdc in each st until you reach the chain made in the last step. Hdc in each ch around] twice. Hdc in each of the remaining sts. DO NOT sl st to 1st st.
***From this point forward, you will be working in continuous rounds. Remember to place st marker in 1st st of each round***
Next Steps: Hdc in each st around until your top measures 12.5 (13, 13.5, 13.5, 13.5, 14, 14, 14.5, 14.5) inches from top to bottom. Or continue to your desired length.
Armhole Edging
• Attach yarn to 1st st of bottom portion of armhole.
• Sc in each st around placing a sc2tog in the corners or armhole (There should only be 2).
FASTEN OFF AND WEAVE IN ALL ENDS.